 blog
Top 5 Rapid Prototyping Techniques for Small Business
Table of Contents
- Why Rapid Prototyping Matters for Small Business
- 1. Paper Prototyping and Sketches
- 2. 3D Printing for Product Prototypes
- 3. CNC Machining Prototype Methods
- 4. Vacuum Casting and Molding
- 5. Digital Wireframing and Interactive Prototypes
- Rapid Prototyping Best Practices and Design Process
- How to Choose the Right Technique for Your Project
- Frequently Asked Questions
Last Updated: October 14, 2026
Why Rapid Prototyping Matters for Small Business
Rapid prototyping techniques let small businesses test ideas without betting the entire operation. Moving from concept to physical prototype in days instead of months makes iteration affordable. At VanderLab, we've built custom parts and prototypes for local makers, designers, and small business owners who need to validate designs before committing to production tooling.
The real advantage isn't speed alone. It's the ability to fail cheaply. A paper prototype costs almost nothing. A 3D-printed iteration costs more but still far less than a injection-molded production run. This is where rapid prototyping techniques separate the businesses that innovate from the ones that guess.
Small teams often assume they need the same industrial setup as larger manufacturers. They don't. The rapid prototyping techniques here range from paper sketches to CNC-machined metal, each suited to different stages and budgets. The key is matching the method to what you're trying to learn.
1. Paper Prototyping and Sketches
Paper prototyping is the fastest way to test whether an idea is worth pursuing. A sketch, a cardboard mockup, or a hand-drawn wireframe costs nothing and takes hours, not weeks.
This approach works best for validating the concept itself: does the form feel right, does the layout make sense, will users understand how to interact with it? Paper answers these questions before you touch any equipment.
For physical products, cardboard mockups reveal spatial relationships sketches can't. Cut out rough shapes, stack them, hold them, you'll spot proportions that look fine on paper but feel wrong in three dimensions. For digital products, paper wireframes show flow and hierarchy without design software.
The limitation is obvious: paper doesn't show material properties, durability, or function under real conditions. A cardboard prototype won't tell you if your mechanism works or your material holds up, but it will tell you if the core idea deserves to move forward, which is often the only question that matters at the start.
2. 3D Printing for Product Prototypes
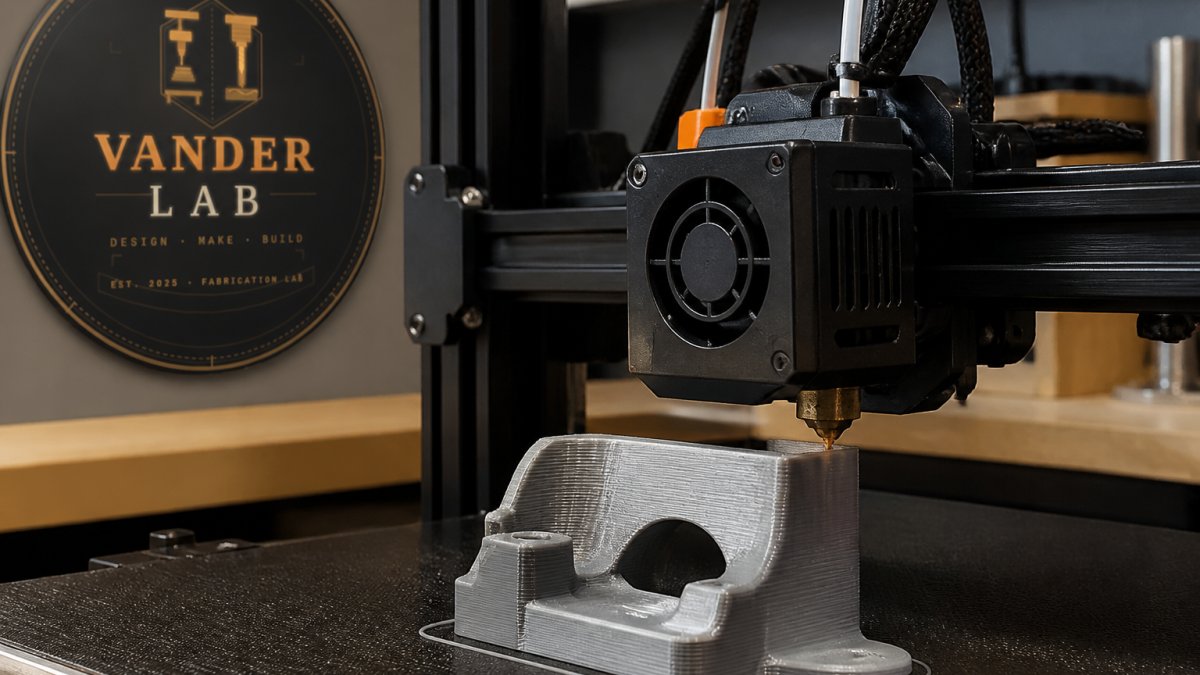
3D printing bridges the gap between concept and function. Print a prototype overnight, test it the next morning, that speed makes iteration practical for small teams.
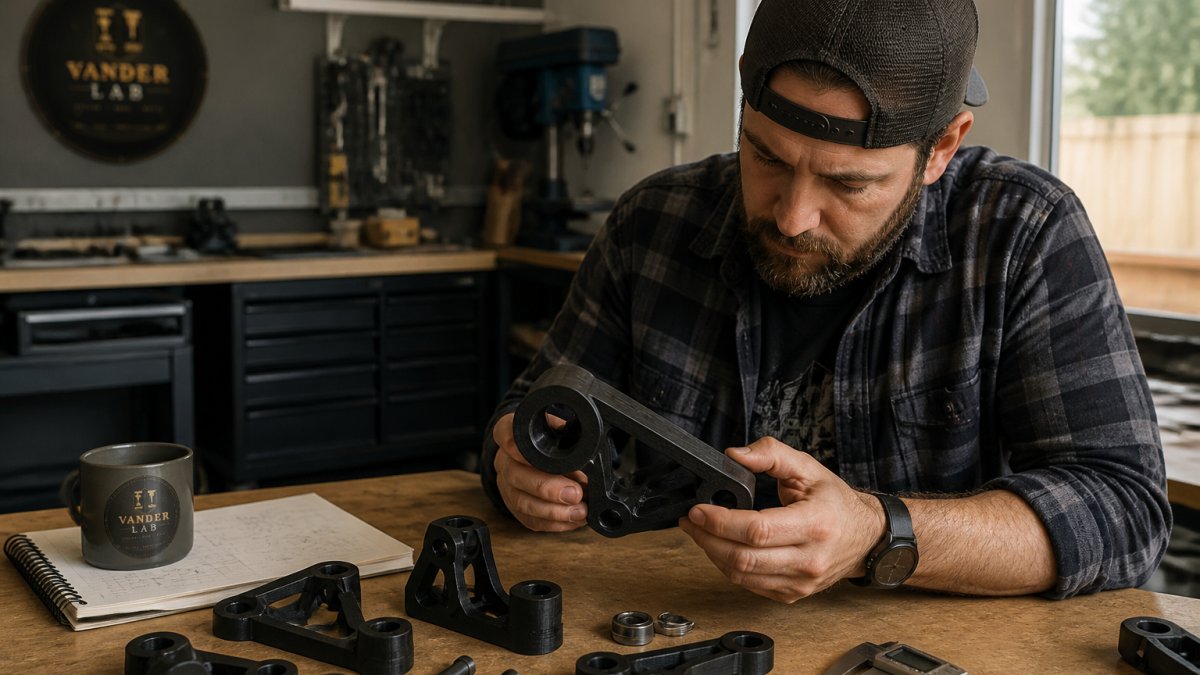
3D-printed prototypes show how parts fit together, how mechanisms move, and whether a design works in the real world. You can hold a part, test its strength, measure clearances, and validate assembly before committing to expensive manufacturing.
The material matters. PLA is affordable but brittle, PETG stronger, ABS better with heat, TPU flexible. Different materials reveal different failure modes, a prototype that works in PLA might fail in real use, and that discovery is exactly why you prototype.
3D printing works best for validating fit, form, and basic function. It's less useful for surface finish, tight tolerances, or materials under stress, a printed part can show your hinge design works, but not that your material survives repeated flexing or high heat. That's when you move to the next technique.
3. CNC Machining Prototype Methods
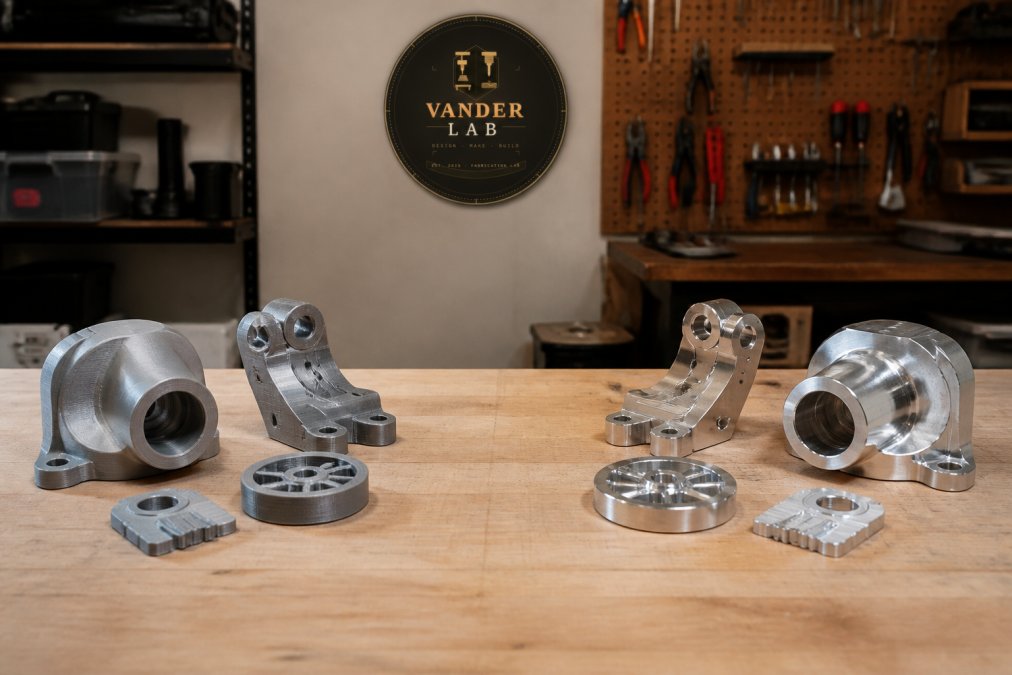
CNC machining produces prototypes with precision and material properties that match production parts. When your design needs to prove it works in the actual material, metal, wood, or engineered composite, CNC is the right choice.
A CNC router or mill cuts parts from solid material with tight tolerances and a clean surface finish, giving you a prototype that behaves like the real thing. A 3D-printed hinge might work fine, but a metal hinge proves the design survives actual stress.
CNC machining also works for small production runs. Once the design is proven, you can machine 10, 50, or 100 units without retooling, this is where rapid prototyping techniques meet small-batch manufacturing, with the same machine and CAD file serving both.
The trade-off is time and cost: a CNC prototype takes longer than 3D printing, costs more, and wastes more material. But when you need precision and real-world material performance, it's the fastest path to a prototype you can trust.
4. Vacuum Casting and Molding
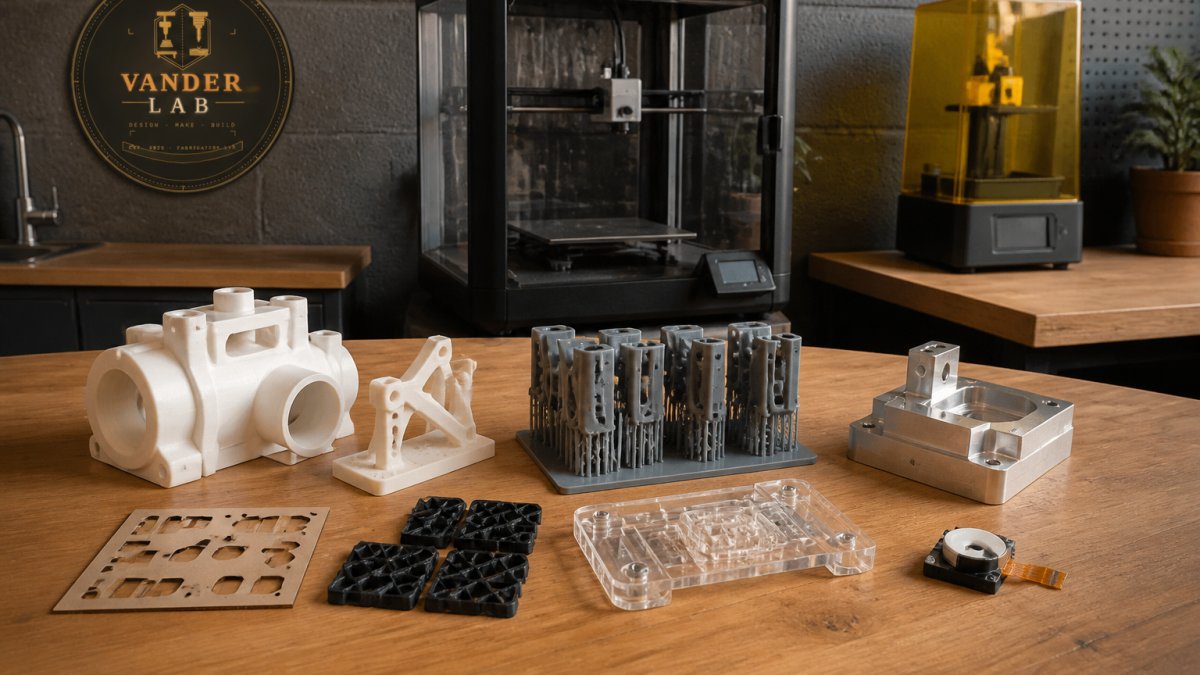
Vacuum casting takes a master pattern, usually a 3D-printed or CNC-carved part, and uses it to create a silicone mold. That mold then produces multiple copies in urethane, resin, or silicone rubber, without the cost of injection tooling. For small businesses that need a handful of identical prototypes rather than one, this is often the most practical bridge between a single printed model and a full production run.
Here's how it works. Start with a master pattern finished to the surface quality you want, since every copy inherits that finish. Suspend it in a mold box, pour liquid silicone around it, and let it cure. Cut the mold open, remove the master, and the cavity is ready. To cast a part, mix two-part urethane or resin, degas it under vacuum to pull out trapped air, pour it into the cavity, and cure under pressure.
One master pattern yields many copies in different materials, soft urethane for flexible parts, rigid resin for structural components. Shore hardness varies across the urethane range, so you can cast a rubbery grip and a stiff housing from the same mold, validating a design across material behaviors without remaking the master.
Silicone molds wear out, roughly 20 to 50 pulls before the cavity degrades enough to affect surface quality or dimensions, depending on the material and handling. For small-batch validation that's usually enough; for larger runs, injection molding becomes more economical once volumes justify the tooling.
The limitation is that vacuum casting is a manual, multi-step process: slower per part than 3D printing for a single unit, requiring mold-making skill, and unable to match CNC tolerances. But when you need five or ten matching prototypes in a production-like material, it's often the fastest and most cost-effective path.
5. Digital Wireframing and Interactive Prototypes
For software, apps, and digital interfaces, wireframes and interactive prototypes replace physical models. A wireframe shows structure and layout; an interactive prototype adds behavior, working buttons, responsive flows, animations that demonstrate the user experience.
Digital wireframing tools let you test navigation, information hierarchy, and user workflows without writing code. Share prototypes with users, watch them interact, and spot confusion before development begins, rapid prototyping applied to digital products.
Interactive prototypes go further, simulating the actual experience. Users click through the interface, see how screens transition, and understand the complete flow, revealing problems wireframes alone cannot: unclear labels, confusing transitions, or missing steps.
The advantage is that these prototypes cost almost nothing to create and can be revised instantly. The disadvantage is that they don't test technical feasibility. A perfectly designed interface might be impossible to build with your chosen technology stack. But for validating whether the design itself is right, digital prototyping techniques are unmatched.
Rapid Prototyping Best Practices and Design Process
Most rapid prototyping advice stops at "start cheap and iterate." True, but it doesn't tell you what to do on Monday morning. The gap most guides miss is the testing step: how to run a prototype test that produces a decision, not just a pile of opinions.
Start with a question, not a prototype.
Match the fidelity to the question. Low-fidelity prototypes, paper, cardboard, rough prints, answer concept and layout questions. High-fidelity prototypes, CNC-machined parts, vacuum-cast urethane, clickable digital mockups, answer performance, fit, and production-readiness questions.
Test with the people who will actually use it, and watch without helping. Hand them the prototype, give them a task, stay quiet. Their confusion is data; their workarounds tell you what you got wrong. If you have to explain how something works, the design failed, not the user.
Define what success looks like before the test. Set a simple pass/fail criterion for each question: did the user complete the task without prompting, did the part survive the load test, did the assembly fit on the first try.
Document each iteration as a decision, not a diary. Record what you tested, what you expected, what happened, and what you'll change next.
Know the common failure modes. Prototypes fail predictably: tolerances that looked fine in CAD but don't assemble in hand, materials that behave differently under heat or repeated stress, surface finishes that can't be reproduced in production, and designs that work as a one-off but can't be manufactured at volume.
Finally, stop when the question is answered. The goal isn't a perfect prototype, it's a decision. Once you know whether the concept works, the fit is right, or the material holds up, move forward. Iterating past that point is polishing, not prototyping.
How to Choose the Right Technique for Your Project
The right technique depends on three things: what you're trying to learn, how much time you have, and what your budget allows.
If you're validating the core concept: Start with paper. Sketches and cardboard mockups are fastest and cheapest. You're asking, "Is this idea worth pursuing?" Paper answers that question.
If you're testing fit, form, and basic function: Use 3D printing. You need something tangible that shows how parts relate and whether mechanisms work, and 3D printing is fast and affordable enough for multiple iterations.
If you're proving performance in real materials: Use CNC machining. You need a prototype in the actual material, metal, engineered plastic, or composite, to know whether your design survives real-world conditions. CNC also works for small production runs once the design is proven.
If you're validating a design across multiple materials: Use vacuum casting. Create one master pattern, then cast copies in different materials, faster and cheaper than making multiple CNC parts.
If you're testing digital workflows and interfaces: Use wireframes and interactive prototypes. You're asking whether the user experience makes sense. Code is unnecessary at this stage.
Most projects use multiple techniques in sequence: sketch on paper, print a prototype to test fit, machine a version in metal to validate performance, then move to small-batch production. Each step answers a specific question and informs the next.
VanderLab helps small businesses move from rough ideas to print-ready or machine-ready files. Whether you start with a sketch, a photo, or a detailed CAD drawing, the team can turn it into a prototype you can test. Custom CNC machining and 3D printing mean you're not limited to off-the-shelf parts.
Turning a rough idea into a working prototype is how small businesses test whether a product is worth making. From CAD design to finished part, we handle the technical side so you can focus on validating your idea. Custom Quotes are available for any rapid prototyping project.
Frequently Asked Questions
What is an example of rapid prototyping in action?
A small manufacturing business sketches a new product holder design on paper, tests it with cardboard mockups, then uses 3D printing to produce a functional prototype within a week. The team gathers feedback, refines the design in CAD, and prints an improved version before committing to expensive tooling. This entire cycle, from concept to tested prototype, happens in days instead of months.
Which rapid prototyping technique is best for a small business?
The best technique depends on your goal and timeline. Paper prototyping and sketches cost almost nothing and validate concepts fast. 3D printing works well for testing fit and function without equipment investment. CNC machining suits businesses that need precise metal or wood parts for production runs. Start with low-fidelity methods to prove the concept, then move to higher-fidelity techniques only when you're confident in the design.
What are the best practices for effective prototyping?
Keep prototypes low-cost and quick, the goal is learning, not perfection. Test with real users early and often. Document feedback and design changes as you iterate. Use mixed-fidelity approaches: combine paper sketches with 3D-printed functional parts. Set clear success criteria before you build. Avoid over-engineering at the prototype stage; save refinement for production.
Can a small business use 3D printing for product prototypes without owning equipment?
Yes. Many small businesses utilize 3D printing services without owning equipment, paying only for the parts they need. This approach is ideal for rapid iteration cycles.