 how-to
How to Remove Laser Etching From Glass Without Damage
Last Updated: October 28, 2026
Quick Summary
Successful laser etching removal depends on matching your method to the mark: surface residue wipes away with isopropyl alcohol or a baking soda paste, while true etching is in the glass and will not return to clear. Work from gentlest to strongest, and stop once the mark clears.
- Run a fingernail across the mark: rough means etched, smooth means residue.
- Wipe residue with a dry microfiber cloth, then isopropyl alcohol, then baking soda paste.
- Polish light marks with wet sandpaper from 600 grit up through 2000 grit.
- Skip abrasives on tempered glass, which can shatter if a scratch reaches the tension zone.
- Stop when the mark is unchanged after two polishing passes or any scratch appears.
Table of Contents
- How to Tell What Kind of Mark You're Removing
- How to Remove Laser Engraving From Glass: A Step-by-Step Sequence
- How to Remove Laser Engraving Residue From Glass
- Cleaning Glass After Laser Engraving: What to Use and Avoid
- How to Remove Hard Water Etching From Glass
- Polishing Technique: Grits, Tools, and Realistic Limits
- When to Stop, and How to Prevent the Problem Next Time
- Get a Custom Piece Made Right the First Time
- Frequently Asked Questions
How to Tell What Kind of Mark You're Removing
Most people assume every white mark on glass is leftover laser dust. That assumption wastes hours. DIY methods for removing laser etching from glass only work when you match the method to the mark.
Here's the short version. A laser either leaves debris on the surface or changes the glass permanently. One of those comes off. The other doesn't, no matter how hard you scrub.
Surface Residue vs. Permanent Etching
Surface residue is loose material sitting on top of the glass, a faint haze or chalky film that usually wipes away with a finger or damp cloth. Permanent etching is different: the laser has altered the glass itself, and you can feel a slight texture under your fingernail.
Try this test before you touch any cleaner:
- Run a fingernail gently across the mark
- If it catches or feels rough, the glass is etched
- If it feels smooth and wipes away, it's residue
A frosted look with visible depth means the mark is in the glass. That changes everything about what comes next.
Faux Etching, Paint, and Color Engraving
Not every decorative mark is true etching. Some pieces carry a faux etching cream or painted design that mimics the frosted look, and color engraving can leave pigment behind in the marked area. Faux etching and paint often come off with the right solvent because they sit on the surface; true laser etching cannot. If you're weighing whether to remove or redo the piece, it helps to know which materials take engraving well.
How to Remove Laser Engraving From Glass: A Step-by-Step Sequence
Start with the gentlest method and stop the moment the mark clears. That single rule prevents most glass damage. Work through these steps in order, moving forward only when the previous step fails.
Step 1: Clean and Inspect the Glass
Wash the piece with warm water and a drop of dish soap, dry it with a lint-free cloth, and inspect the mark under bright light from a few angles. Look for depth, texture, and edges: a shallow haze with soft edges is usually residue, while a sharp, defined mark with visible frost is etching. Note what you see so you can compare after each attempt.
Step 2: Try the Least Abrasive Method First
Begin with a soft cloth and isopropyl alcohol, wiping gently, then check the glass. If nothing moves, try a baking soda and water paste on a corner of the mark. Give each method a fair try, but don't scrub hard, pressure scratches glass, not the cloth. If two gentle attempts leave the mark unchanged, move to the next step.
Step 3: Move to Polishing Only If Needed
Polishing uses abrasives to smooth the glass surface. It works on light surface marks and can soften shallow etching, but it will not erase deep, permanent etching. Only reach for it after the gentle methods fail, and test on an inconspicuous spot first, like the base of a glass or the back of a sign.
Work through these steps in order, moving forward only when the previous one fails.
| Step | What to do | Move on when |
|---|---|---|
| 1 | Wash with warm water and dish soap, dry, inspect under bright light | You have noted depth, texture, and edges |
| 2 | Wipe gently with soft cloth and isopropyl alcohol, then baking soda paste | Two gentle attempts leave the mark unchanged |
| 3 | Polish with abrasives, testing an inconspicuous spot first | Mark clears or polishing limits are reached |
How to Remove Laser Engraving Residue From Glass
Residue removal is the easy case, and it's where most people should start. Laser engraving can leave fine dust and a light film around the marked area. That film comes off with basic supplies.
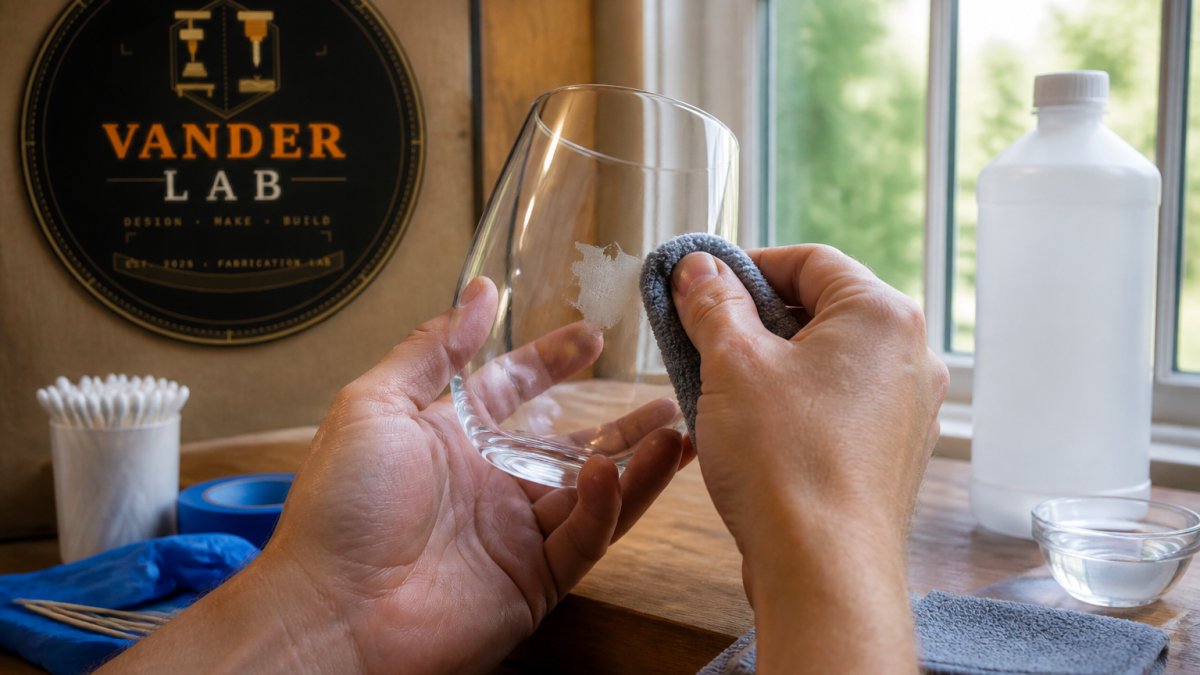
Use this sequence:
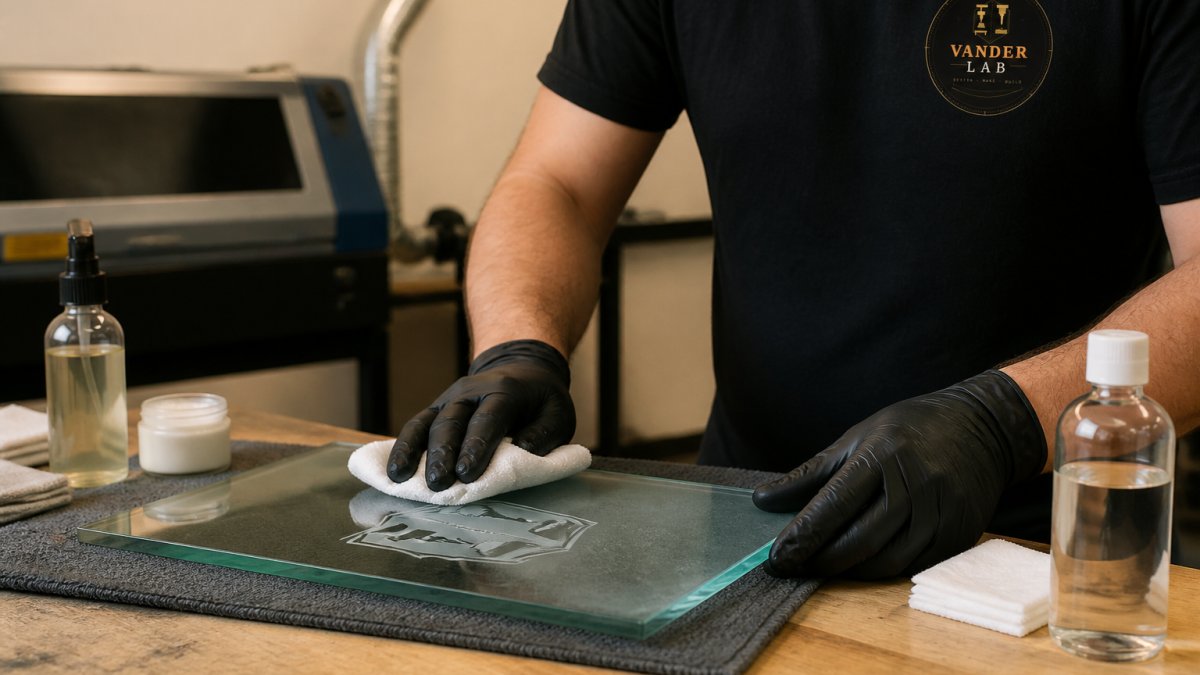
- Wipe the area with a dry microfiber cloth first
- Dampen a cloth with isopropyl alcohol and wipe gently
- For stubborn film, make a paste of baking soda and water
Avoid paper towels. They can leave fibers behind and occasionally scratch soft glass. A non-corrosive cleaning solution is always the safer pick over anything harsh.
Cleaning Glass After Laser Engraving: What to Use and Avoid
Post-engraving care comes down to one rule: mild cleaners and soft cloths, every time. Nothing that attacks the surface.
Use these:
- Warm water with a drop of dish soap
- Isopropyl alcohol for residue and fingerprints
- Microfiber cloths
Avoid these:
- Ammonia-based cleaners on etched areas
- Abrasive scouring pads
- Metal scrapers
Rubbing alcohol is the workhorse here. It lifts oils and residue without harming the glass. Keep a bottle on the workbench and reach for it before anything stronger.
How to Remove Hard Water Etching From Glass
Hard water marks aren't the same as laser marks, and mixing them up leads to unnecessary scrubbing. Water spots come from minerals left behind when water dries; over time they can etch the glass and leave a cloudy ring.
For light mineral film, try white vinegar on a cloth and let it sit briefly. For tougher spots, a baking soda paste works well. Rinse and dry completely.
Polishing Technique: Grits, Tools, and Realistic Limits
Polishing can improve light surface marks, but it has a ceiling. It smooths the glass surface; it does not restore deep etching to a clear finish, and it will not remove frosting the laser cut into the glass itself.
Here's the practical sequence for silicon carbide sandpaper and a buffer:
- Start with 600 grit wet sanding on the marked area
- Keep the paper wet the whole time
- Work up through 1200 grit, then 1500, then 2000 grit
Wet sanding matters. Dry sanding generates heat and dust, and heat can crack glass. Go slow, keep it wet, and check your progress between grits.
Pressure, Speed, and the Wet-Sanding Habit
The biggest cause of DIY glass damage is pressure, not grit. Let the abrasive cut with light, even strokes; pressing hard drives grit into the glass and leaves scratches worse than the mark you started with.
Keep a spray bottle handy and mist the paper and glass continuously, adding a drop of dish soap to keep the paper from loading up with glass dust.
Choosing a Polishing Compound
For the buffer stage, a cerium oxide-based compound is the standard for glass because it cuts slowly and leaves less optical haze than coarser compounds.
Without a rotary tool, a felt bob on a drill works, and hand polishing with a microfiber cloth and cerium oxide slurry is slower but safer for thin or curved pieces. Work in a well-ventilated area and wear eye protection.
How to Check for Optical Haze
Optical haze is the cloudy film left when polishing isn't finished. Hold the glass against a dark background and tilt it under bright light; if the polished area looks milky next to the clear glass, you stopped too early at a coarse grit or used too much pressure.
Watch out: polishing too aggressively on a thin drinking glass can thin the wall or cause a crack. Once polishing hits its realistic limits, it helps to understand why professional CNC work beats DIY for a clean, reliable result.
When to Stop, and How to Prevent the Problem Next Time
Stop when the mark hasn't changed after two polishing passes, or when you see any scratch, haze, or crack forming. At that point the mark is permanent, and more scrubbing only risks the piece. That's the honest limit of DIY laser etching removal.
Glass Type Changes the Answer
Not every piece of glass should go near an abrasive, the type of glass matters as much as the mark. A few rules of thumb:
- Tempered glass (most drinking glasses, oven doors, shower doors) can shatter suddenly if a scratch reaches the tension zone. Skip abrasives entirely and treat any mark as permanent.
- Coated or tinted glass can lose its coating under sanding, leaving a visible patch that's worse than the original mark. Test on an inconspicuous spot, and stop if the coating lifts.
- Thin glass (stemware, picture-frame glass) thins further under polishing and cracks easily. Hand polishing with a soft cloth is the only safe option.
If the piece is a keepsake, an heirloom, or something you'd hate to lose, the safest move is to stop and live with the mark, or repurpose the piece rather than risk it.
Realistic Limits: What Laser Etching Actually Does
Laser engraving changes the glass surface: the laser fractures or ablates a thin layer, and that change is physical, not a coating you can wipe off. That's why some marks come off and some don't, residue is on the glass, but etching is in it.
The internet is full of claims that a certain paste or polish "removes laser etching," but most of those methods are really removing residue, adhesive, or hard-water film.
Ways to Conceal or Repurpose an Unwanted Mark
If removal isn't realistic, a few practical options remain:
- Cover the mark with a vinyl decal, a painted design, or a framed insert
- Turn the piece into something else, a candle holder, a planter, a display piece, where the mark reads as part of the design
- Pair it with a complementary piece so the mark becomes a detail rather than the focus
Prevention Saves the Most Grief
Prevention is the better investment. A few habits save grief:
- Ask the maker whether the design is surface marking or true etching
- Request a test piece on scrap glass first
- Confirm the design and spelling before the laser runs
If a piece is already marked and you'd rather start clean, our guide on how to fix engraving errors on gifts walks through the practical options.
Get a Custom Piece Made Right the First Time
The surest way to avoid removal work is to have the piece made correctly from the start. Our custom signage solutions for small businesses guide covers the options.
We work from sketches, photos, or a rough idea and turn it into a finished piece, custom address signs, engraved keepsakes, personalized awards, and small-batch event pieces.
Best for: anyone who wants a clean, permanent design without the guesswork. Skip if: you enjoy the trial-and-error process. No judgment.
When you're ready, request a custom quote and tell us what you have in mind. You can also browse ready-made pieces and shop finds in our eBay Shop if you'd rather start from something already made.
Frequently Asked Questions
Can you erase laser engraving from glass completely?
Usually not completely. Laser engraving on glass typically changes the material itself through heat rather than leaving a removable coating, so the mark is often permanent. Surface residue, paint fills, and decal adhesive can be cleaned off, and polishing with silicon carbide sandpaper from 600 grit up to 2000 grit followed by a buffer can reduce the visibility of a shallow mark. Deep engraving cannot be restored to a factory finish, and aggressive polishing risks distorting the glass or changing how light passes through it.
What should you try first when laser-etched glass looks cloudy?
Start with the gentlest option: wash the glass with mild dish soap and warm water, then wipe the area with isopropyl alcohol or rubbing alcohol on a soft cloth. This removes surface residue, fingerprints, and adhesive left from masking film. If the cloudiness remains, check whether it is hard-water deposits by soaking the area in white vinegar for a few minutes. Only after those steps fail should you consider abrasive polishing, since each polishing step carries some risk to the glass surface.
Can hard water permanently etch glass, and does vinegar help?
Hard water can leave mineral deposits that look like etching, and over long periods those deposits can pit the glass surface. Vinegar dissolves the mineral layer, so soak the glass or hold a vinegar-soaked cloth on the spot for several minutes, then rinse and dry. If the mark disappears, it was deposit, not damage. If a faint outline remains after the minerals are gone, the glass itself is etched and vinegar will not fix it. Vinegar does not etch glass on its own under normal household use.
When should you stop trying to remove an etching from glass?
Stop when the mark no longer changes after two rounds of a given method, when you can feel a depression with a fingernail, or when the glass starts looking hazy or distorted around the area. Those signs mean the laser altered the material rather than leaving residue. Continuing to sand or polish a deep etch removes more glass and can weaken thin walls, especially on drinking glasses. At that point, the safer route is to replace the piece or commission a new one made to order.
Removing a permanent laser mark from glass is often impossible, and that's the honest truth most guides skip. The better path is getting it right the first time. VanderLab offers precision CNC machining, 3D printing, and CAD design, with local pickup in Mebane and shipping nationwide. Get started with VanderLab and turn your rough idea into a finished piece built to last.