 how-to
How to Fix Engraving Errors on Gifts: A Practical Guide
Table of Contents
- Assess the Damage Before You Touch Anything
- Laser Engraving Removal Techniques for Metal
- How to Hide Engraving Mistakes on Wood
- Repairing Glass and Acrylic Without Making It Worse
- Creative Salvage: When Erasing Isn't the Best Option
- Preventing Engraving Errors on Custom Gifts
- When to Call Professional Engraving Repair Services
- Your Move: Fix It or Start Fresh
- Frequently Asked Questions
Last Updated: September 5, 2026
Assess the Damage Before You Touch Anything
An engraving error on a gift is a moment every maker and recipient dreads, but fixing it starts with a clear head, not a sander. The first step is identifying the type of error, the substrate it sits on, and the depth of the cut, since the fix for a typo in a metal plaque is entirely different from a scratch on finished wood.
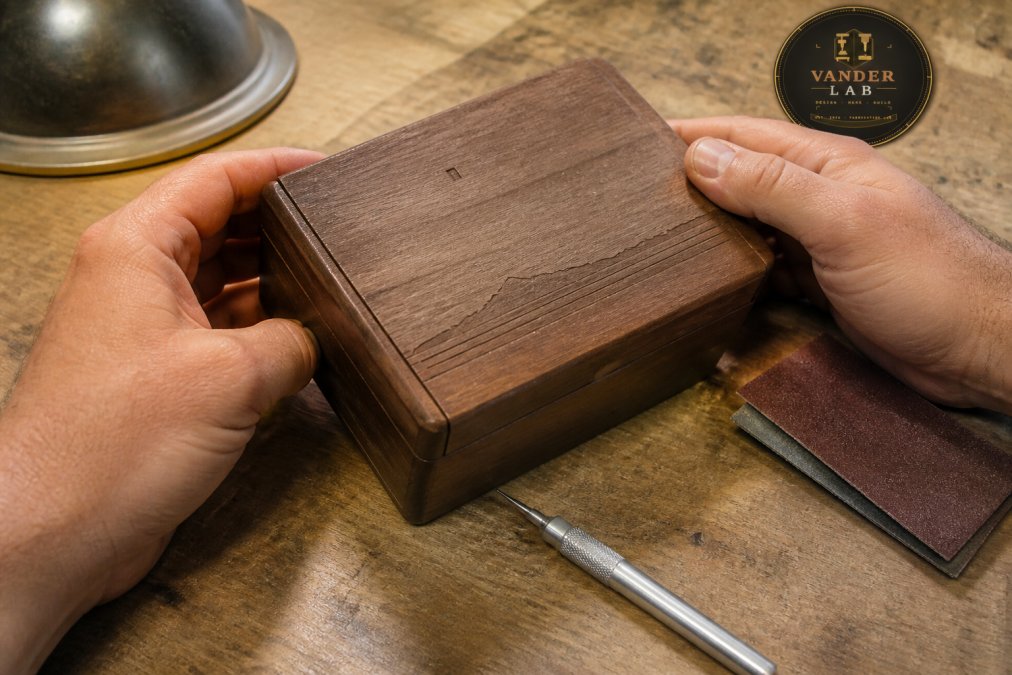
Before reaching for any tool, evaluate the severity. Is the mistake a misspelling that needs complete removal, or a slight misalignment a creative addition could mask? What material are you working with, and does it have a coating or finish that complicates repairs? Most importantly, how deep is the engraving? A shallow mark on a wooden gift box might be removed with careful sanding, but a deep cut into anodized aluminum has a point of no return.
| Error Type | Best Repair Method | Risk Level |
|---|---|---|
| Shallow surface mark on wood | Light sanding and refinishing | Low |
| Typo on bare metal | Abrasive sanding and polishing | Medium |
| Deep cut on coated metal | Inlay or creative salvage | High |
| Scratch on glass/acrylic | Polishing compound | Low |
Laser Engraving Removal Techniques for Metal
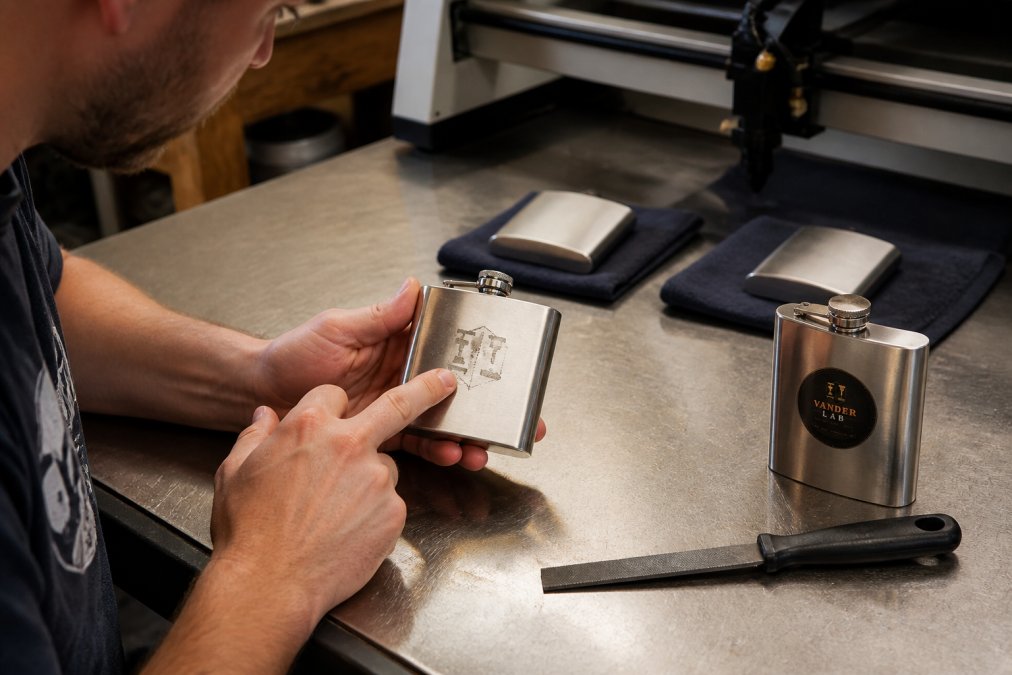
Removing a laser engraving from metal is a controlled abrasion exercise, not a single pass with a sander. The laser alters the surface layer, creating a mark that is darker or frosted against the surrounding finish. Your job is to remove that altered layer evenly, without creating a low spot or changing the geometry of the piece.
Start With the Right Abrasive Sequence
For bare metals like stainless steel, brass, copper, or aluminum, a progressive grit sequence is the only reliable path. Begin with 220-grit aluminum oxide paper only if the engraving is deep; if the mark is light, starting at 320 or 400 grit saves material (osha.gov). Work through the grits in order: 220 → 320 → 400 → 600 → 800 → 1000, then finish with a buffing compound.
Each grit step removes the scratches left by the previous one; skipping from 220 to 600 leaves deep scratches that will show through the final polish.
Technique Matters More Than Grit
Sand in one consistent direction, never in circles, and check your progress every few passes. Wrap the sandpaper around a hard, flat block; fingers conform to the metal and create a wavy, uneven surface that draws the eye straight to the repair.
For tight spots, consider a rotary tool with a small sanding drum or abrasive rubber points. These reach corners that flat paper cannot, but they remove material fast, use them at low speed and keep them moving.
The Polishing Phase
Once the engraving is gone and the surface shows a uniform 1000-grit satin finish, switch to a buffing wheel charged with a color-coded polishing compound, brown (tripoli) for cutting, then white (jewelers rouge) for the final shine. Move the piece against the wheel's rotation, keeping it moving to avoid heat buildup.
If the original piece had a brushed finish, stop at the 600 or 800 grit stage and recreate the brush lines by dragging the piece across a fine abrasive pad in one direction. Matching the original finish is often harder than removing the engraving.
Coated and Anodized Metals: A Different Problem
Anodized aluminum and powder-coated metals complicate things. The engraving removes the coating, and sanding removes more. You cannot simply polish an anodized surface back to its original state, the anodized layer does not regenerate at home. Once you sand through it, you have three options: leave the bare metal as a design element, apply a touch-up coating, or pivot to a creative salvage approach.
When Abrasion Fails
If you have sanded through the engraving and the surface is still uneven, or the metal is a thin gauge starting to warp from heat, stop. Further abrasion will only make a divot deeper. The realistic options are filling the area with a metal-filled epoxy and re-engraving, or reimagining the piece with a creative overlay.
How to Hide Engraving Mistakes on Wood
Wood offers more forgiving repair options than metal, but matching the grain and finish is a challenge. For shallow errors on unfinished wood, sanding past the laser mark and refinishing is often the cleanest solution. Start with a medium grit around 150, work down to 220, then reapply your finish, keeping in mind the fresh wood may absorb stain differently.
When the engraving is too deep to sand out, inlaying is the more elegant fix. Rout or carve out the flawed area to a uniform depth, then fill it with a contrasting wood plug or a mixture of wood dust and glue. Once cured, sand flush and refinish, this turns a mistake into a design feature.
Repairing Glass and Acrylic Without Making It Worse
Glass and acrylic resist the abrasive methods that work on metal and wood, and aggressive sanding often creates more visible scratching. For shallow glass etching mistakes, a cerium oxide polishing compound applied with a felt buffing wheel can gradually remove the frosted appearance (peer-reviewed research). This is slow work, and results depend heavily on the depth of the cut.
Acrylic is slightly more forgiving. Sand it with very fine grits, starting at 600 and moving to 2000 or higher, then finish with a plastic polish and a clean buffing wheel. Keep the surface wet during sanding to prevent heat buildup, which melts and clouds the acrylic. If the error is deep, removal often distorts the material, so masking it with a decorative decal or creative re-engraving is frequently the smarter path.
Creative Salvage: When Erasing Isn't the Best Option
Sometimes the most pragmatic fix is not to remove the error at all, but to transform it into something intentional. A typo in a date can become a decorative element, or a misaligned monogram can be balanced with additional engraving. Creative salvage often saves a gift that aggressive removal would destroy.
A misspelled name on a wooden plaque can sometimes be corrected by engraving the correct name on a separate inlay material and setting it into the flawed area. A wrong date on a metal keepsake could be covered by a custom emblem that incorporates the error as a deliberate part of the design. This requires a steady hand and a willingness to redesign, but the outcome is often a piece with more character than the original plan.
Preventing Engraving Errors on Custom Gifts
The best repair is the one you never have to make. Proofreading is the obvious first line of defense, but it needs to happen on the final design file, not just the initial order form. Double-check spellings, dates, and spacing, and have a second person review the artwork before any laser or CNC machine starts cutting.
Beyond proofreading, test your settings on a scrap piece of the exact material you plan to use. Laser power, engraving depth, and speed vary dramatically between wood species, metal alloys, and acrylic thicknesses. A quick test run reveals how the material reacts and lets you adjust before committing to the final gift, non-negotiable for production runs.
When to Call Professional Engraving Repair Services
The decision to stop DIY and call a professional is not a measure of your skill, it is a calculation of risk versus replacement cost. Here is a practical framework for making that call.
Run the Math on Replacement vs. Repair
Start with the item's replacement value. A mass-produced gift box may not be worth an hour of sanding if the repair goes wrong. A custom-engraved cutting board or an heirloom pocket watch justifies a more careful approach.
Next, estimate the cost of professional repair. Most independent jewelers and engraving shops charge a bench fee for assessment, then quote based on material and labor. If professional repair costs less than the replacement value, it can be a rational choice.
The Point of No Return
Every material has a threshold beyond which home repair permanently ruins the piece. For plated metals, gold, silver, or nickel over a base metal, sanding through the plating exposes a dull gray or copper patch that cannot be restored at home. For anodized aluminum, once you breach the coating, the color is gone for good. For glass or crystal, aggressive grinding risks cracking the entire piece.
If you have already started sanding and the material is behaving unexpectedly, the color is shifting, the surface is clouding, or you feel a divot forming, stop immediately. A professional can sometimes work around a partially sanded surface, but not a hole sanded through the entire wall of a hollow piece.
What a Professional Brings That You Don't Have
Professional services use industrial equipment that changes what is possible. A jeweler's lathe can re-cut a surface to a perfectly flat plane. A laser engraver with a rotary fixture can re-engrave a corrected design with precision a handheld tool cannot match. Electroplating equipment can rebuild a worn plating layer. A professional can often salvage a piece a home workshop would destroy.
A professional also brings experience with finish matching. Matching a brushed stainless steel finish or a specific wood stain is genuinely difficult, a shop that does this daily has a library of finishes they have already matched.
Questions to Ask Before You Hand It Over
Before committing, ask three questions. Can they show you examples of similar repairs? Do they offer a no-obligation assessment, or is the bench fee applied if you proceed? What is their policy if the repair fails? A reputable shop will answer all three directly.
At VanderLab, we regularly take on pieces that started as DIY repair attempts. We work from sketches, photos, or rough ideas to rebuild or repair items using our CNC router and laser engraver, making corrections that are either invisible or intentionally integrated into the design. If you are unsure whether your piece is salvageable, send us a photo and a description of what you have tried, we will give you an honest read on whether it is worth repairing or better to start fresh. You can also request a Custom Quote through our site to discuss your specific piece before deciding on a repair path.
Your Move: Fix It or Start Fresh
Every engraving error forces a decision, and the right answer depends on the material, the depth of the mistake, and what the gift means to its recipient. A shallow typo on a wooden box is a weekend project with sandpaper and finish. A deep error on an heirloom-quality metal piece might be a job for a professional. And sometimes, the most honest fix is to commission a new piece entirely, starting fresh with a design you have verified twice.
An engraving error is rarely the end of the story. With careful assessment, the right techniques, and a willingness to get creative, most mistakes can be corrected or transformed. And when the repair is beyond your comfort zone, a custom fabrication shop with the right precision tools can turn your problem into a solution that is built to last.
Engraving mistakes on a custom gift can feel like a personal failure, but they are a normal part of working with precision tools and personalization. At VanderLab, we treat every error as a design problem with a solution, whether that means a careful sanding, a creative inlay, or a completely new piece cut with tight tolerances on our CNC router. We build custom-engraved gifts, awards, and keepsakes from our home fabrication lab in Mebane, working from your sketches, photos, or rough ideas to get the details right the first time. Browse our Ebay Shop to see examples of our precision-built, Carolina-made work, or get started with VanderLab and turn your custom gift idea into a piece that is built to last.
Frequently Asked Questions
Can an engraving mistake be fixed on metal or wood?
Yes, in many cases. On metal, shallow laser engraving can often be removed with progressive sanding and buffing, though deep mechanical etching may leave a slight depression. On wood, you can sand down past the engraving depth and refinish, or fill the recess with wood filler and re-engrave. The key is assessing depth first. If the error is deep or the material is thin, professional help is often a safer route.
Is it possible to sand down or buff out an engraving error?
Sanding and buffing work best on shallow laser engraving removal techniques for flat metal surfaces and unfinished wood. Start with a coarse grit like 220, then move to 400 and 800 before buffing. This removes the error but also removes surface material, so check material thickness first. On plated items, sanding can break through the plating and expose the base metal.
Can you engrave over an existing mistake to hide it?
Engraving over a mistake works when you can incorporate the error into a new design, like turning a misspelled name into a monogram or adding a border that covers a misplaced line. This is a common way to hide engraving mistakes on wood without removing material. For deeper errors, fill the recess first, then engrave the new design over the patched area.
When should you consult a professional for engraving repairs?
Consult a professional when the item is valuable, the engraving is deep, or the material is delicate. Antique jewelry, heirloom watches, and crystal often require specialized equipment and experience. Professional engraving repair services can also re-polish metal, match wood finishes, and re-engrave with precision. If your DIY attempt risks making the error worse, the cost of a pro can be worth the peace of mind.
This article was written using GrandRanker
Frequently Asked Questions
Q: Can an engraving mistake be fixed on metal or wood?
A: Yes, in many cases. On metal, shallow laser engraving can often be removed with progressive sanding and buffing, though deep mechanical etching may leave a slight depression. On wood, you can sand down past the engraving depth and refinish, or fill the recess with wood filler and re-engrave. The key is assessing depth first. If the error is deep or the material is thin, professional help is often a safer route.
Q: Is it possible to sand down or buff out an engraving error?
A: Sanding and buffing work best on shallow laser engraving removal techniques for flat metal surfaces and unfinished wood. Start with a coarse grit like 220, then move to 400 and 800 before buffing. This removes the error but also removes surface material, so check material thickness first. On plated items, sanding can break through the plating and expose the base metal.
Q: Can you engrave over an existing mistake to hide it?
A: Engraving over a mistake works when you can incorporate the error into a new design, like turning a misspelled name into a monogram or adding a border that covers a misplaced line. This is a common way to hide engraving mistakes on wood without removing material. For deeper errors, fill the recess first, then engrave the new design over the patched area.
Q: When should you consult a professional for engraving repairs?
A: Consult a professional when the item is valuable, the engraving is deep, or the material is delicate. Antique jewelry, heirloom watches, and crystal often require specialized equipment and experience. Professional engraving repair services can also re-polish metal, match wood finishes, and re-engrave with precision. If your DIY attempt risks making the error worse, the cost of a pro can be worth the peace of mind.