 ultimate-guide
Cost of Custom CNC Machining in 2026: Full Pricing Guide
Table of Contents
- CNC Machining Cost in 2026: What to Expect
- Breakdown of CNC Cost Components
- 3-Axis vs 5-Axis Milling: How Complexity Changes Price
- CNC Machining Design Tips for Cost Reduction
- How to Get an Accurate CNC Quote
- Hidden Costs: Post-Processing and Lead Times
- Making Your Custom CNC Project Cost-Effective
- Frequently Asked Questions
Last Updated: September 7, 2026
CNC Machining Cost in 2026: What to Expect
The cost of custom CNC machining in 2026 is shaped by machine time, material selection, and part complexity rather than a single flat rate. At VanderLab, we build precision parts from a home fabrication lab in Mebane, North Carolina, and we've seen how a clear cost breakdown turns a rough idea into a finished, built-to-spec component.
Custom CNC machining cost in 2026 is ultimately a function of three variables: how long the machine runs, what you're cutting, and how much engineering the part demands. Below, we'll show you how to estimate each one, where the hidden fees hide, and which design choices give you the most control.
Breakdown of CNC Cost Components
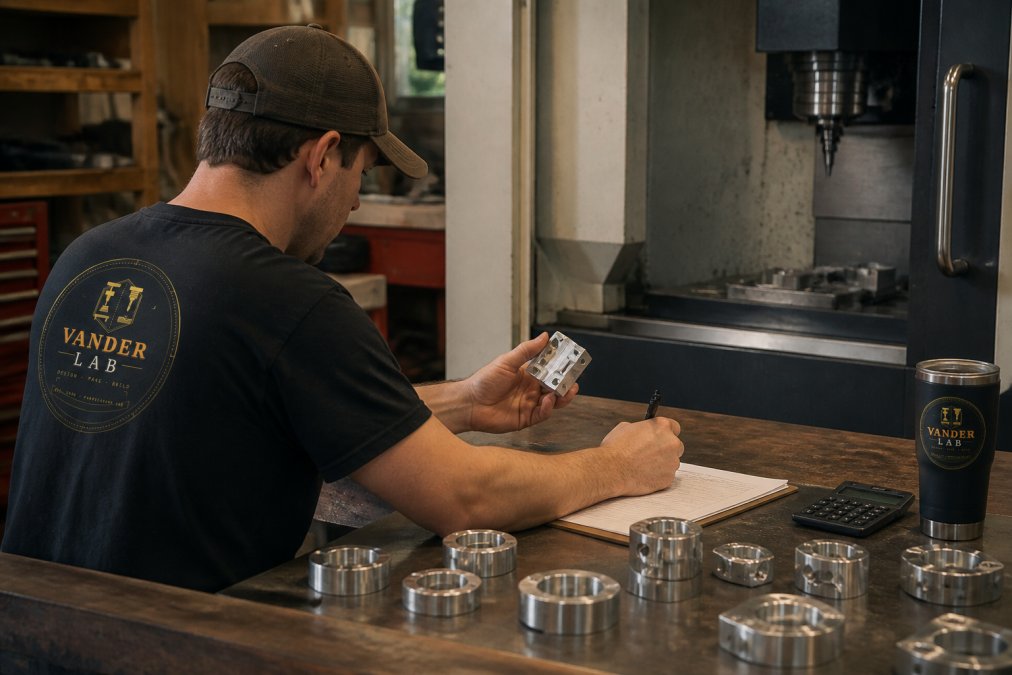
Every CNC quote is built from the same core components: material, setup and programming, and the machining time itself. Once you can read a quote as the sum of these parts, you'll spot inflated line items.
Material Costs and Machinability
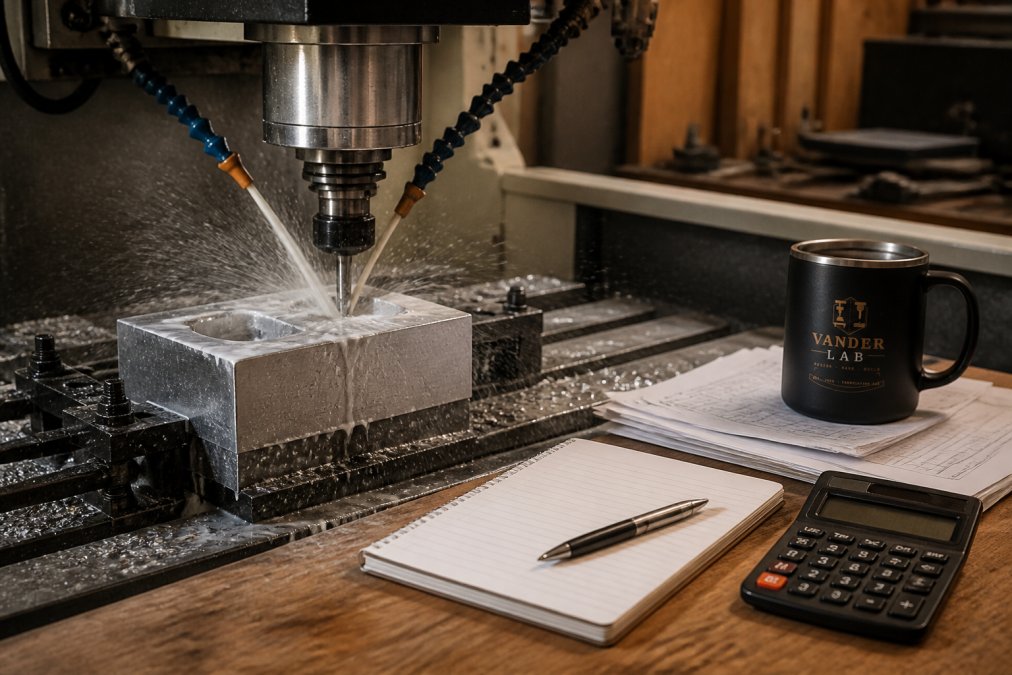
Raw material stock is the most straightforward line item, but the price difference between options is steeper than most newcomers expect. Common choices include aluminum alloys, steels, brass, and engineering plastics like ABS, PETG, and nylon. Machinability matters as much as the base price: softer metals like aluminum cut quickly, while harder alloys wear tooling faster, raising both machining time and tooling costs.
Setup Fees and Engineering Time
Setup fees cover the work before the spindle turns: converting your model to machine code, selecting tooling, and fixturing the stock. A simple prototype may need a single setup; a complex part requiring multiple orientations or custom fixtures needs several. CNC programming and engineering review time is often billed separately, especially when your file needs cleanup. If you're coming from a 3D printing background, this is the cost that surprises people most.
Machining Time and Hourly Shop Rates
Machining time is the largest variable in the cost of custom CNC machining in 2026. Shops quote an hourly shop rate that bundles machine use, overhead, and labor. Part complexity drives this number more than size: a small bracket with tight tolerances and deep internal features can run longer than a large flat plate. Prototype runs are small batch, so the hourly rate applies to a single piece with setup amortized across one unit.
| Cost Component | What It Covers | What Drives It Up |
|---|---|---|
| Material stock | Raw metal or plastic blank | Exotic alloys, large stock size |
| Setup and programming | CAD to toolpath, fixturing | Complex geometry, multiple setups |
| Machining time | Actual spindle run time | Tight tolerances, hard materials |
| Post-processing | Finishing, anodizing, deburring | Cosmetic surface requirements |
3-Axis vs 5-Axis Milling: How Complexity Changes Price
The choice between 3-axis and 5-axis machining is one of the biggest pricing forks in custom CNC work. A 3-axis machine moves the tool along the X, Y, and Z axes, handling most simple brackets, plates, and enclosures efficiently. 5-axis machining adds two rotational axes, letting the tool reach undercuts and complex contours without re-fixturing.
That capability comes at a premium. 5-axis machines carry higher capital costs and require more skilled programming, so their hourly rates run well above standard 3-axis milling. The payoff is accuracy: a part machined in one setup holds tighter tolerances than one flipped and re-clamped multiple times. For most prototypes and functional parts, 3-axis machining is the cost-effective choice. A 5-axis machine earns its rate only when geometry demands it, such as impellers, complex manifolds, or compound-angle features. If you're designing for cost, ask whether the design can be split into simpler features a 3-axis machine can reach.
How Axis Count Moves the Hourly Rate
While every shop sets its own rates, axis count is the single largest driver of the hourly shop rate. A standard 3-axis vertical mill is the baseline for everyday parts. A 4-axis machine adds a rotary table, letting the part be indexed for features on multiple faces without a manual re-clamp, reducing setup labor but adding a modest premium. A full 5-axis machine commands the highest rate due to capital cost, floor space, and the advanced programming skill required.
The practical takeaway: if your part can be made on a 3-axis machine, it will almost always be the most economical path. The 5-axis premium only makes sense when it eliminates multiple setups, holds tolerances re-fixturing can't guarantee, or machines geometry unreachable with a straight tool approach.
The Real Cost Driver: Setups, Not Just Axis Count
A part requiring three separate setups on a 3-axis machine carries hidden labor costs that a 5-axis machine eliminates in a single fixturing. Each setup introduces risk of operator error, datum shift, and tolerance stack-up. When comparing quotes, ask how many setups your part requires. A 5-axis quote may carry a higher hourly rate but fewer total hours because the part is machined in one continuous program. Total cost is what matters, not the rate.
A Practical Decision Framework
Use this quick checklist to decide which axis count your part actually needs:
- Stick to 3-axis for flat plates, simple brackets, enclosures, and parts with features only on the top and bottom faces.
- Consider 4-axis for cylindrical parts needing radial features, or parts that need indexing on multiple sides with a simple rotation between operations.
- Choose 5-axis for impellers, turbine blades, complex manifolds, parts with compound-angle holes, or any geometry where a straight tool cannot reach the feature without collision.
- Ask about 3+2 machining. Many shops use a 5-axis machine in a positional mode, tilting the part to a fixed angle and then cutting with standard 3-axis moves. This approach delivers much of the setup-reduction benefit of full 5-axis work at a lower programming cost than true simultaneous 5-axis toolpaths.
What This Means for Your 2026 Quote
In 2026, the gap between 3-axis and 5-axis hourly rates remains significant, driven by the same capital and labor costs that have defined the market for years. Shops competing on price run 3-axis machines efficiently; shops competing on capability run 5-axis machines and charge accordingly. Neither is wrong, it depends on what your part requires. The most cost-effective project matches axis count to geometry, not the one where the designer specified the most capable machine "just in case."
CNC Machining Design Tips for Cost Reduction
Design for manufacturing (DFM) is the single most effective lever you control. Most cost-driving mistakes are caught before a quote is issued, not after the part is cut. Here are the design choices that move your estimate most:
- Avoid deep pockets with small radii. Every internal corner needs a radius matching your tool diameter. Specify a radius at least one-third of the pocket depth, or the shop must run a smaller tool with slower feed rates.
- Relax tolerances where you don't need them. A critical mating surface at tight tolerance is fine. Specifying tight tolerance across every dimension multiplies quality control time and scrap risk.
- Add draft angles for finishing. If your part needs anodizing or plating, geometry that traps fluid adds cost. Design for drainage.
- Reduce part count where possible. Two machined parts that bolt together often cost more than one slightly more complex part, once setup and assembly are counted.
- Standardize your material. Ordering from common stock sizes avoids custom bar stock purchases and long raw material lead times.
A common mistake is over-engineering cosmetic features that add machining time without improving function. Every fillet, chamfer, and surface finish requirement adds minutes to the toolpath. Guidelines on design for manufacturing from the American Society of Mechanical Engineers emphasize that the cheapest feature is the one you don't draw.
The Hidden Cost of Non-Standard Features
Beyond the basics, several specific design choices quietly inflate quotes because they force the shop to deviate from its standard tooling library and proven processes.
Hole sizes and thread depths. Every shop stocks a standard set of end mills and drills. Specifying a hole diameter that requires a custom reamer, or a thread depth requiring a special-length tap, forces the shop to order tooling or run a slower operation. Standardizing on common inch and metric sizes keeps the job on standard tooling. For threaded holes, specify a thread depth of no more than 1.5 times the nominal diameter in aluminum and 1 times in steel; deeper threads require thread milling or special taps.
Internal corner radii. The radius in an internal corner must be at least as large as the radius of the end mill that cuts it. A sharp internal corner is impossible to machine with a rotating tool; the shop must use a smaller end mill, slower and more prone to deflection, or add an electrical discharge machining (EDM) operation. Both add significant cost. A practical minimum internal radius is 0.031 inches (0.8 mm), but 0.062 inches (1.6 mm) or larger lets the shop use a sturdier tool and cut faster.
Wall thickness. Thin walls flex during machining, causing vibration, poor surface finish, and dimensional inaccuracy. The machinist must run slower spindle speeds and lighter cuts to avoid pushing the wall out of tolerance. For aluminum, a minimum wall thickness of 0.040 inches (1 mm) is workable, but 0.060 inches (1.5 mm) or thicker machines more predictably. For less rigid plastics, plan for 0.080 inches (2 mm) or more to avoid chatter.
Text and engraving. Adding engraved text or logos is common, but cost depends heavily on feature size. Small text, under 0.1 inches (2.5 mm) tall, requires a tiny engraving tool at high spindle speed with a slow feed rate, plus a perfectly flat surface and precise zero reference. Larger text, or text cut with a standard V-bit, is much faster. If you need small text, consider a laser-engraved plate attached to the part at a fraction of the machining cost.
How to Apply DFM Before You Send the File
A practical DFM review takes about fifteen minutes and can prevent the most common quote surprises. Check each feature against the following list:
- Check every internal corner radius. Is it at least 0.031 inches? Ideally 0.062 inches or larger?
- Check every hole size. Is it a standard drill size? Could a smaller hole be enlarged to a standard size without affecting function?
- Check wall thicknesses. Are all walls at least 0.040 inches in metal and 0.080 inches in plastic?
- Check thread depths. Are they within 1.5 times the diameter for aluminum and 1 times for steel?
- Check for deep pockets. Is the depth-to-width ratio under 4:1? Deeper pockets require specialized tooling and techniques.
- Check for text. Is any engraved text at least 0.1 inches tall? If not, consider a plaque or a different marking method.
- Check for sharp internal corners. Are there any 90-degree internal corners that a rotating tool cannot reach? If so, can you add a small radius or a relief cut?
The DFM Conversation That Saves the Most Money
The most effective DFM step is not a checklist, it's a conversation. Before requesting a formal quote, send your model to the shop and ask: "What would you change to make this part more economical to machine?" A good shop will suggest enlarging a radius, opening up a tolerance, changing a material grade, or adding a locating feature to reduce setup time. These suggestions are a roadmap to a lower quote. A good shop will suggest enlarging a radius, opening up a tolerance, changing a material grade, or adding a locating feature to reduce setup time. These suggestions are a roadmap to a lower quote.
Designing for manufacturability is not about compromising function. It is about understanding the machining process and giving the shop the simplest possible path to a quality result. The designer who knows a 0.062-inch radius will not affect performance will consistently get lower quotes and faster deliveries than one who specifies features without understanding their manufacturing cost.
How to Get an Accurate CNC Quote
Getting a usable quote starts with the quality of your input files. A vague sketch or a reference to a similar part invites guesswork, producing either inflated quotes or surprises later. Provide a full 3D model with clear critical tolerances, surface finish requirements, and production volume.
Begin with a complete technical drawing noting material grade, finish, and quantity. Then ask: What is the hourly shop rate? How many setups does this part require? Are there features requiring special tooling? Is the quote valid for the stated batch size, and how does per-part price scale at higher volumes? Volume-based tiers matter because setup costs amortize across more units, a batch of 250 parts carries the same programming cost as a single prototype but spreads it across the run.
At VanderLab, we work from sketches, photos, or rough ideas and turn them into print-ready files, so you can see the cost structure before committing to production. A quote with a clear model and defined finish always returns a more accurate number than a fuzzy description. If you have a project in mind, you can also browse our Ebay Shop to see examples of finished work, or reach out through our Custom Quotes page to discuss your specific part.
Hidden Costs: Post-Processing and Lead Times
The quote you receive for machining is rarely the final invoice. Post-processing and surface finishing add cost that catches many buyers off guard. Raw machined parts show tool marks and sharp edges. Deburring is usually included, but cosmetic finishes are not. Anodizing, powder coating, bead blasting, and hand-polishing each carry their own labor and, in the case of anodizing, minimum batch charges. A functional prototype can ship as-machined, but a customer-facing enclosure or personalized award needs finishing that adds time and money.
Supply chain and lead time surcharges are the second hidden variable. Material stock availability fluctuates, and rush orders often carry a premium because the shop must interrupt other jobs or expedite procurement. Manufacturing lead time directly affects cost. Planning for standard lead times instead of rush delivery is an easy way to keep the project within budget.
Making Your Custom CNC Project Cost-Effective
The most cost-effective CNC project starts with an honest conversation about what the part must do. Research from the National Institute of Standards and Technology on manufacturing cost estimation shows that early design decisions lock in the majority of a product's manufacturing cost, long before the first chip is cut. That means the cheapest project is the one where the designer understood machinability from the start.
Bring a clear model, specify only the tolerances you need, and choose a material that matches the part's function rather than its appearance. For prototypes, ask if a 3D-printed iteration in PLA or PETG can validate the design before committing to machined metal. Production runs delivered on time and on budget come from this kind of planning, not from hoping the shop absorbs your design's inefficiencies.
Understanding the cost of custom CNC machining in 2026 comes down to reading the quote as a story of machine time, material, and engineering effort. The cheapest path is a design that respects the process, a material chosen for machinability, and a clear specification that lets the shop run without guesswork. At VanderLab, we pair precision fabrication with a personal touch, building parts that are made for your space and built to last. Whether you need a functional prototype, a production run of specialized components, or an engraved keepsake, we turn your rough idea into a finished piece from our Mebane workshop. Get started with VanderLab and request a custom quote for your next project.
Frequently Asked Questions
What factors influence the final price of a custom CNC project?
The final price comes down to four main factors: material choice, part complexity, machining time, and quantity. Exotic alloys cost more and cut slower than standard aluminum or plastics. Complex geometries may require 5-axis machining or extra setups, which adds hours to the job. Volume matters too: a single prototype carries full setup cost, while a production run spreads that cost across many parts, lowering the cost per part.
How can I optimize my design to reduce CNC machining expenses?
The most effective way to cut costs is to design for manufacturability. Avoid deep pockets with tight corners, which require small tools and slow passes. Use standard drill sizes for holes and keep tolerances at ±0.005 inches unless your application truly needs tighter. Reducing the number of setups by designing features that can be machined from one or two orientations also lowers the price.
What is the difference between hourly rates and project-based pricing?
Hourly rates reflect the machine time and labor required, often quoted as a shop rate per hour. Project-based pricing bundles material, setup, programming, machining, and finishing into one total. For a custom part, project pricing gives you a clear final number upfront. For ongoing production, understanding the hourly rate helps you estimate how design changes affect your overall cost per part.