 how-to
Precision CNC Routing Services Near Me: What to Expect
Table of Contents
- What Precision CNC Routing Services Near Me Actually Include
- How to Prepare CAD Files for CNC (A Shop-Ready Checklist)
- Precision Tolerances in CNC Machining: What to Ask For
- Custom CNC Wood Signs in Mebane NC: From Sketch to Finish
- Materials, Prototypes, and Production Runs
- What Drives Cost and Turnaround on a Custom Quote
- Frequently Asked Questions
Last Updated: September 15, 2026
What Precision CNC Routing Services Near Me Actually Include
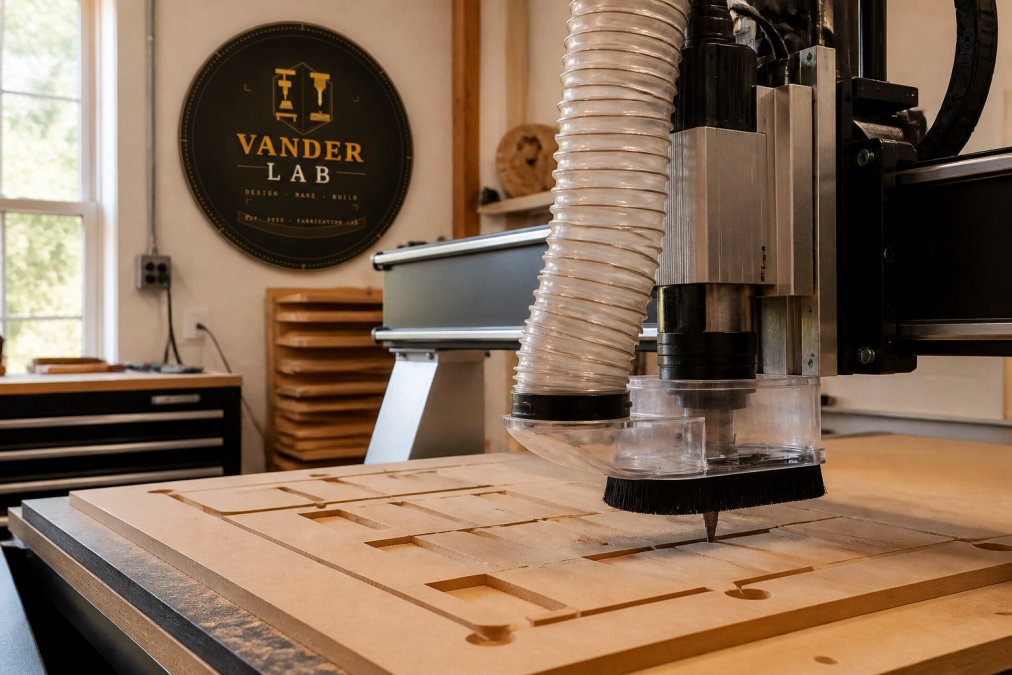
Searching for precision cnc routing services near me usually means you have a part, a sign, or a prototype that needs to be cut accurately, and you want a shop you can actually talk to. Precision CNC routing is a subtractive manufacturing process where a rotating cutting tool follows a computer-controlled path to shape sheet stock and plate material into finished parts. At VanderLab, that work happens in a home fabrication lab in Mebane, North Carolina, where custom signage, enclosures, and one-off pieces get cut on a CNC router and hand-finished before they leave the shop.
Here's what most guides get wrong: they treat routing as a commodity, as if any shop with a machine produces the same result. It doesn't work that way. The difference between a part that fits and one that doesn't usually comes down to how the shop handles toolpaths, workholding, and tolerance callouts, not the brand of the machine.
A typical routing job covers:
- Cutting sheet goods to a CAD profile
- Drilling and pocketing for hardware, fasteners, and inserts
- Engraving lettering and logos at controlled depth
- Trimming plastic and composite panels to net shape
Routing vs. Milling, and Why the Difference Matters
Routing and milling both remove material with a spinning cutter, but they solve different problems. Routing is built for large, flat sheets: the tool moves over a stationary bed, which makes it the right choice for signs, panels, and cabinet parts. Milling typically uses a smaller work envelope and a moving spindle or table, which suits blocks of metal, deep pockets, and parts with features on several faces.
If you send a flat sign profile to a milling-only shop, expect either a higher quote or a referral. If you send a dense metal block to a router, expect the shop to decline or subcontract it. Knowing which process your part needs saves a week of back-and-forth.
How to Prepare CAD Files for CNC (A Shop-Ready Checklist)
The fastest way to slow down a quote is a messy file. Shops quote from geometry, so clean geometry gets quoted faster and cut with fewer surprises. If you want to know how to prepare CAD files for CNC, start with the checklist below and run it before you hit send.
- Export as STEP or DXF for 2D profiles
- Confirm units are set to millimeters or inches, then state which one in your email
- Close all open contours; routers cannot cut a gap
- Remove duplicate and overlapping lines that create double cuts
- Name layers by function:
CUT,ENGRAVE,POCKET,DRILL - Keep engraving depth in a separate layer from through-cuts
- Include a dimensioned PDF so the shop can verify scale
- Note grain direction and which face is the show face
Export Settings, Units, and Layer Naming
Units cause more scrapped parts than any other single issue. A file drawn in inches but imported as millimeters produces a part 25.4 times too large, and most shops catch it before cutting, which costs you a day (NIST Guide to the SI, Appendix B: Conversion Factors | NIST). State units in the filename or the email body, not just inside the file properties.
Layer naming matters just as much. When cut paths, engrave paths, and drill locations live on separate, clearly labeled layers, the operator can assign toolpaths without guessing your intent. Ambiguous files get quoted with padding to cover the risk.
Precision Tolerances in CNC Machining: What to Ask For
Tolerances in CNC machining describe how much a finished dimension may vary from the drawing. Ask for the loosest tolerance your part can actually live with. Tightening a callout from ±0.010 in to ±0.002 in rarely changes the fit on a decorative sign, but it can change the cut strategy, the feed rate, and the number of parts that get scrapped, all of which show up on your quote (nist.gov).
A practical way to set them:
| Feature | Typical Callout | When to Tighten |
|---|---|---|
| Decorative engraving | ±0.015 in | Almost never |
| Through-cut profiles | ±0.010 in | When parts nest together |
| Bolt holes and slots | ±0.005 in | When mating to existing hardware |
| Bearing bores and fits | ±0.002 in | Only when the assembly demands it |
Ask the shop which tolerances they hold as standard before you redline the drawing. Shops that publish a default tolerance band are telling you where their process is stable, and staying inside that band keeps your quote predictable.
Custom CNC Wood Signs in Mebane NC: From Sketch to Finish
Custom CNC wood signs in Mebane NC start the same way most good projects do: with a conversation. A photo of a front porch, a rough sketch on a napkin, or a house number and a preferred font is enough to begin. From there the design gets drawn in CAD, toolpathed, cut on the router, and hand-finished, which is where the character of a wooden sign actually comes from.
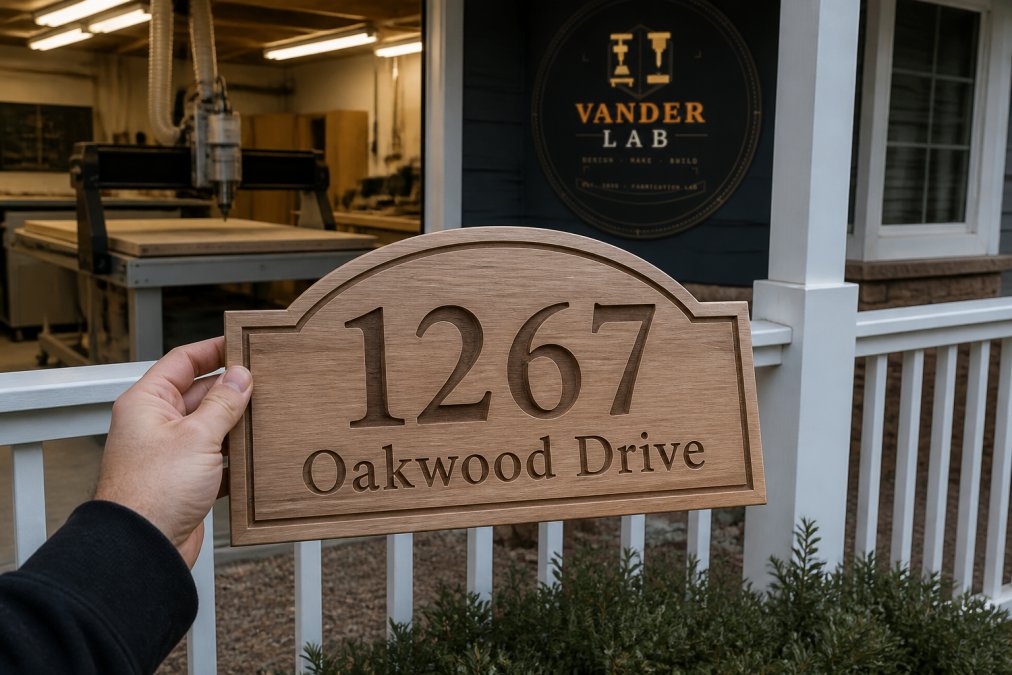
The process, start to finish:
- Share your idea, address, or reference photo
- Review a digital proof of the layout and lettering
- Approve the design and confirm material and finish
- Cutting, sanding, sealing, and hand-finishing
- Local pickup in Mebane or shipping
What most people miss is that the proof stage is the cheapest place to catch a problem. A misspelled street name on screen costs nothing to fix. The same error discovered after cutting means starting over. Read the proof out loud, letter by letter, before you approve it.
Materials, Prototypes, and Production Runs
Material choice drives both how a part performs and how it cuts, and most shops will cut whatever you name without asking what the part actually has to do. The better question is which material fits the job. The same profile in different materials behaves differently at the tool, ages differently outdoors, and lands at a different point on the cost curve.
A practical material-selection guide, organized by what the part has to survive:
| Material | Mechanical Profile | Best For | Cost-Efficiency Notes | Watch Out For |
|---|---|---|---|---|
| Plywood and MDF | Dimensionally stable, moderate stiffness, low moisture resistance unless sealed | Painted signs, jigs, cabinet parts, shop fixtures | Lowest material cost and fastest to source; ideal when the finish will be painted | Tear-out on unsupported edges; MDF swells if it gets wet |
| Solid hardwood | High stiffness along the grain, strong screw-holding, repairable | Address signs, keepsakes, awards, furniture parts | Mid-range cost; grain figure adds value that paint hides | Grain direction shifts the cut; movement with humidity |
| Acrylic (cast) | Rigid, optically clear, UV-stable, brittle under impact | Displays, clean lettering, lit signs, face plates | Higher sheet cost than wood but no finishing labor for a glossy face | Chips if feeds are too aggressive; cast and extruded behave differently |
| Aluminum (6061) | High strength-to-weight, machinable, corrosion-resistant | Brackets, plates, functional parts, jigs | Higher material and machine-time cost; often cheaper than steel for the same job | Needs slower feeds, coolant, and chip management |
| HDPE and composite panels | Tough, low-friction, weather-resistant, won't rot | Outdoor signage, marine parts, cutting boards, wear strips | Priced between wood and aluminum; no sealing required | Fuzzes on edges; thermal expansion is higher than wood |
From One Prototype to a Production Run
Prototyping and production runs sit on the same workflow, which is the advantage of working with a small shop. A single prototype gets cut, checked, and adjusted, and once the geometry is locked, the same file runs a batch.
Skipping the prototype to save time is the most expensive shortcut in custom fabrication. A design flaw that costs one cut to fix on a single part costs the full batch once tooling and material are committed.
Post-Processing and Finishing Options
What Drives Cost and Turnaround on a Custom Quote
Here's how each factor moves the quote:
How to Get a Faster, More Accurate Quote
The single biggest lever on your quote isn't the machine, it's the file and the request behind it. Clean geometry, sensible tolerances, a named material, and an approved proof cut cost and turnaround more than any negotiation.
Frequently Asked Questions
What materials can precision CNC routing services cut?
Material compatibility depends on the router's spindle power and the bit being used. If you are unsure, send the material name and thickness with your file, and the shop will confirm what it can hold tolerance on before quoting.
How do I prepare a file for CNC routing services?
Export a 2D DXF or STEP file, set units to inches or millimeters to match your drawing, and label layers clearly for cut, pocket, and drill paths. Remove duplicate lines and open contours, because those stop a toolpath from generating. A short note describing the part's function helps the machinist catch problems before cutting.
Why choose a local CNC fabrication shop over an online mass-production platform?
A local shop lets you talk through the part, adjust a design after the first cut, and pick up finished pieces yourself. Online platforms win on simple repeat parts, but they rarely help with one-off signage, prototypes, or a design that needs a second opinion. For custom parts, prototyping, and short production runs, the back-and-forth with a nearby machinist usually saves time overall.
How does hand-finishing improve CNC-routed parts?
Routing leaves tool marks, small burrs, and a matte surface. Hand-finishing, which means sanding, edge-breaking, and applying a finish by hand, removes those marks and softens sharp edges so the part feels finished rather than machined. On wood signs and keepsakes, it also preps the surface so stain or paint sits evenly. It is the step that separates a cut part from a finished piece.