 how-to
How to Order Custom Machined Parts: A Step-by-Step Guide
Table of Contents
- Understanding What You Need Before Ordering Custom Machined Parts
- How to Prepare CAD Files for CNC Machining
- Choosing Materials for CNC Machining
- CNC Machining Design Guidelines for Manufacturability
- The Custom Part Manufacturing Process Step-by-Step
- Evaluating Machine Shop Reliability
- Common Mistakes to Avoid When Ordering Custom Machined Parts
- Frequently Asked Questions
Last Updated: October 1, 2026
Understanding What You Need Before Ordering Custom Machined Parts
Before you submit a file, define what you're ordering. Most people stumble here, they have a rough idea or sketch but haven't clarified their part requirements. Ordering custom machined parts without clarity is like building a house without a blueprint. Spend time upfront defining what you need. This saves money, cuts delays, and gets you parts that actually work.
Define Your Part Requirements
Start by answering these questions clearly:
- What will the part do?
- What materials will it contact?
- What forces or stresses will it experience?
- Does it need to fit with other parts?
- How many do you need?
- When do you need them?
Be specific: "A steel bracket that mounts a motor to a frame, with a 0.5-inch hole for a bolt and a 2-inch mounting surface" beats "a bracket that holds something."
Sketch it out and add dimensions where you can. Even a napkin sketch helps a machinist understand your intent. At VanderLab, we work from sketches, photos, and rough ideas, the clearer you are about what you need, the faster and more accurate the quote. We turn rough ideas into print- or machine-ready files.
Know Your Budget and Timeline
Know your budget and timeline before reaching out. Budget shapes the solution, aluminum costs less than stainless steel or titanium, and simple finishes cost less than polishing. Timeline affects lead time; rush orders cost more than standard lead times. A shop that understands your constraints can find solutions that work within them.
How to Prepare CAD Files for CNC Machining
CAD files are the language CNC machines speak. Without them, you're stuck. With them, you're ready to manufacture.
Converting Sketches and Ideas Into Machine-Ready Files
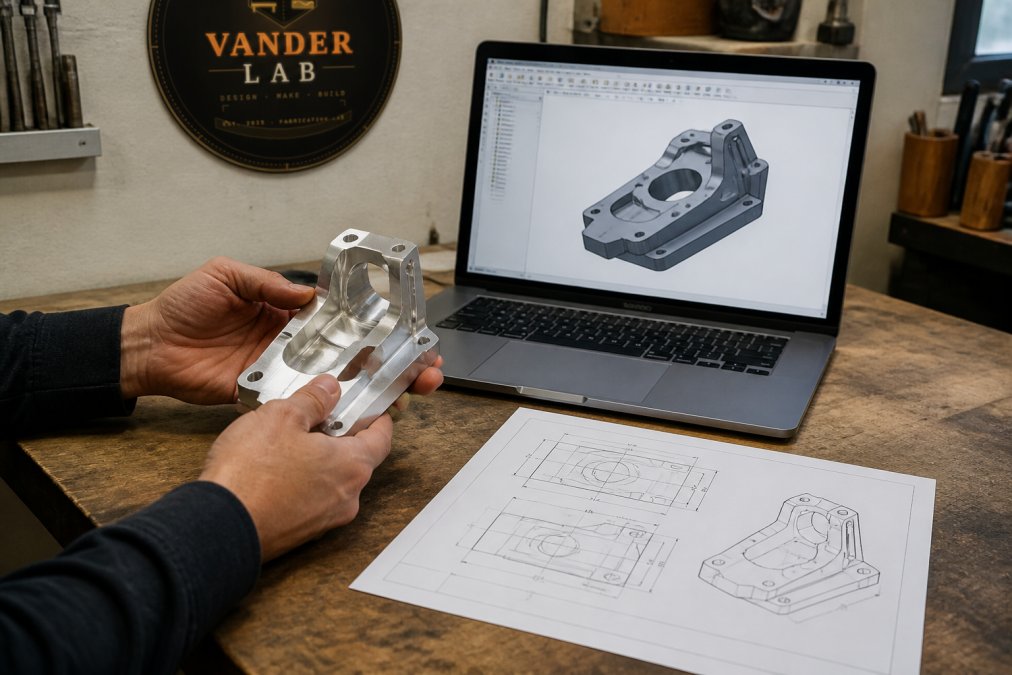
If you have a sketch, photo, or rough drawing, a CAD designer can convert it into a machine-ready file. VanderLab turns rough ideas into machine-ready files using CAD design. If you already have CAD files, ensure they're in a standard format like STEP, IGES, or STL. Avoid sending only a photo, photos don't show dimensions, internal features, or material thickness.
Setting Tolerances and Dimensional Accuracy
Tolerances define how tight your dimensions need to be. A loose tolerance like ±0.1 inch is cheap and fast; a tight tolerance like ±0.01 inch costs more and takes longer. Only specify the tolerances you actually need. Decorative pieces tolerate loose tolerances; functional components need tighter ones. Ask the machine shop to recommend tolerances that make sense for your part and budget.
Choosing Materials for CNC Machining
Material choice shapes everything: cost, strength, finish, and how long the part lasts.
Common Materials and Their Applications
Different materials serve different purposes:
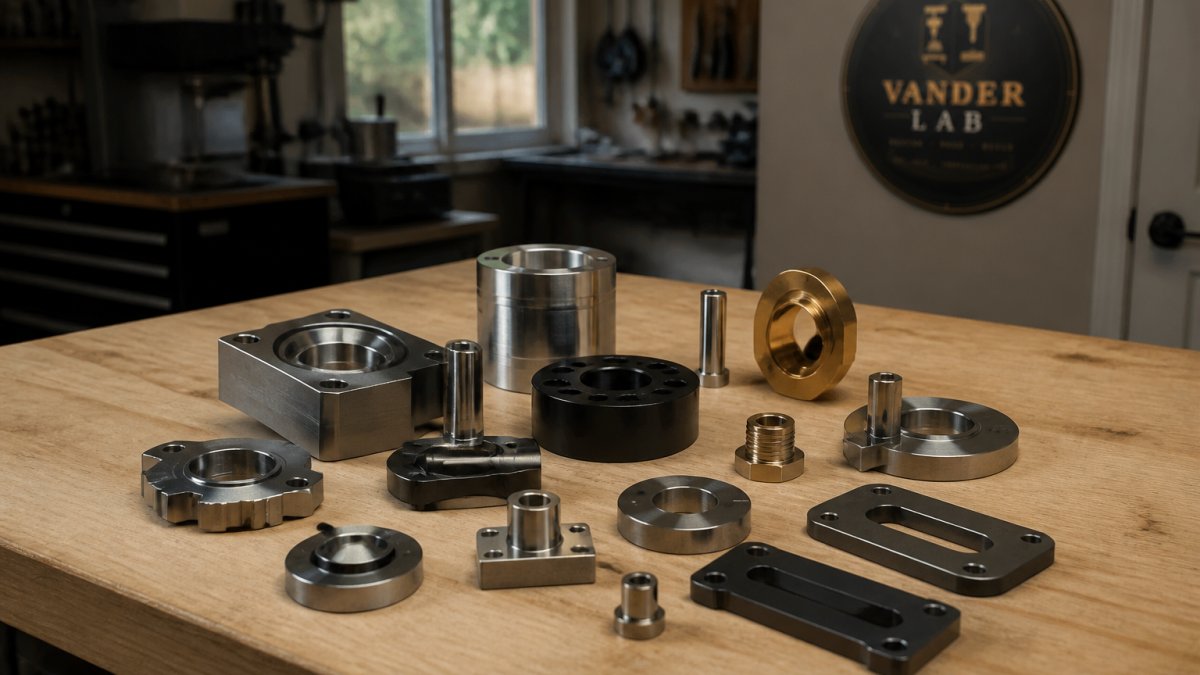
Aluminum: lightweight, affordable, good for prototypes and brackets. Stainless Steel: strong, corrosion-resistant, for parts exposed to moisture or chemicals. Titanium: extremely strong but expensive; use only when strength-to-weight ratio is critical. Brass: machines smoothly, good for electrical connectors. Plastic (PEEK, Delrin): lightweight, affordable insulators. Wood: machines beautifully for decorative pieces and signage. Match material to function, decorative signs can be wood or aluminum; load-bearing brackets need steel.
Material Selection for Durability and Cost
Stronger materials cost more and take longer to machine. For parts that need to last decades under stress, invest in better material like stainless steel or titanium. For prototypes, aluminum is smarter. When requesting a quote, mention your material preference or ask the shop to recommend options that balance durability, cost, and manufacturability.
CNC Machining Design Guidelines for Manufacturability
Good design isn't just about how something looks. It's about how it's made.
Design for Manufacturability (DFM) Principles
Design for manufacturability by avoiding sharp inside corners (use radii instead), using standard sizes, keeping wall thickness consistent, avoiding deep pockets, planning for tool access, and using symmetry. Ask the shop during quoting to review your design and suggest changes that save time and money.
Avoiding Common Design Mistakes
Most design mistakes fall into a few categories:
Overly tight tolerances. Specifying ±0.001 inch when ±0.01 inch works. This doubles or triples the cost.
Impossible features. Asking for a sharp inside corner, or a feature that requires the tool to cut in two directions at once.
Poor material choice. Using a material that's hard to machine for a simple part, or a weak material for a structural part.
Unclear dimensions. Missing dimensions, conflicting dimensions, or dimensions that don't match the 3D model.
No surface finish specification. Saying "smooth" when you should specify "as-machined" or "polished to 32 microinch."
Most of these are caught during the quoting phase.
The Custom Part Manufacturing Process Step-by-Step
Now you're ready to order. Here's how it works.
Step 1: Submit Your RFQ and Design Files
RFQ stands for "Request for Quote." It's your formal request for pricing and lead time.
Your RFQ should include:
- Your CAD files (in a standard format like STEP or IGES)
- A description of what the part does
- Material preference
- Quantity needed
- Tolerance requirements
- Surface finish requirements
- Your timeline and budget
Step 2: Review the Quote and Lead Time
The shop will send you a quote with a price and a lead time.
- How complex the part is
- How many you're ordering
- How busy the shop is
- How tight your tolerances are
Step 3: Quality Control and Inspection
Before your parts ship, they're inspected.
A good machine shop checks:
- Dimensional accuracy (do the parts match the CAD file?)
- Surface finish (is it smooth, polished, or as-specified?)
- Material (is it the right material?)
- Function (do the parts work as intended?)
Inspection reports document what was checked and the results. Ask for an inspection report. It proves your parts meet the specification.
Step 4: Receive and Verify Your Parts
Your parts arrive. Open the box and check them.
Verify:
- The part count matches your order
- The parts match the CAD file
- There are no visible defects
- The material looks right
- The finish is as specified
If something is wrong, contact the shop immediately. Most shops stand behind their work.
Once you're satisfied, your parts are ready to use.
Evaluating Machine Shop Reliability
Not all machine shops are equal. Some deliver on time and on budget. Others miss deadlines and produce poor quality.
What to Look For in a Manufacturing Partner
When choosing a shop, evaluate these factors:
Experience. How long have they been in business? Do they have experience with your material and part type?
Protecting Your Intellectual Property
When you send your CAD files to a machine shop, you're sharing your design. You need to protect it.
Here's what to do:
- Use an NDA. Ask the shop to sign a non-disclosure agreement. This legally binds them not to share your design.
- Limit file sharing. Only share files with the shop you're working with. Don't post your CAD files online.
- Mark files as confidential. Include a note in your RFQ that the files are confidential.
- Ask about their data practices. How do they store files? How long do they keep them? What happens if they go out of business?
Common Mistakes to Avoid When Ordering Custom Machined Parts
Learning from others' mistakes saves time and money.
Skipping the CAD file. Ordering without a proper CAD file leads to misunderstandings and remakes. Invest in a good CAD file upfront.
Frequently Asked Questions
What information do I need to provide when ordering custom machined parts?
You'll need a clear design file (CAD drawing or detailed sketch), material specifications, required tolerances, surface finish details, and your intended application. If you don't have a CAD file, many machine shops can work from photos, sketches, or rough descriptions to create one. Be as specific as possible about dimensions, features, and any special requirements. The more detail you provide upfront, the faster and more accurate your quote will be.
How do I prepare CAD files for CNC machining?
Start with a complete 2D or 3D model showing all dimensions, holes, threads, and surface finishes. Include tolerances for critical features. Save your file in a format your machine shop accepts, such as STEP, IGES, or DWG. Avoid overly complex geometry that's difficult to machine, and consider how the part will be held during machining. If you're unsure about manufacturability, ask your shop for design feedback before finalizing your file.
What is the difference between a prototype and a production run for machined parts?
A prototype is typically a single part or small batch made to test your design, validate fit and function, and catch issues before full production. Prototypes often have longer lead times per unit because setup costs aren't spread across many pieces. A production run involves making many identical parts, which reduces the per-unit cost and lead time once the machine is configured. Start with a prototype to verify your design works, then move to a production run once you're satisfied with the results.
How do I choose the right material for my custom machined part?
Consider three factors: application (what the part must withstand), environment (temperature, moisture, chemicals), and budget. Aluminum machines easily and costs less; stainless steel offers corrosion resistance; titanium provides strength at low weight; PEEK works for high-temperature precision components. Discuss material trade-offs with your machine shop, they can recommend options based on your part's function and help you balance performance with cost.