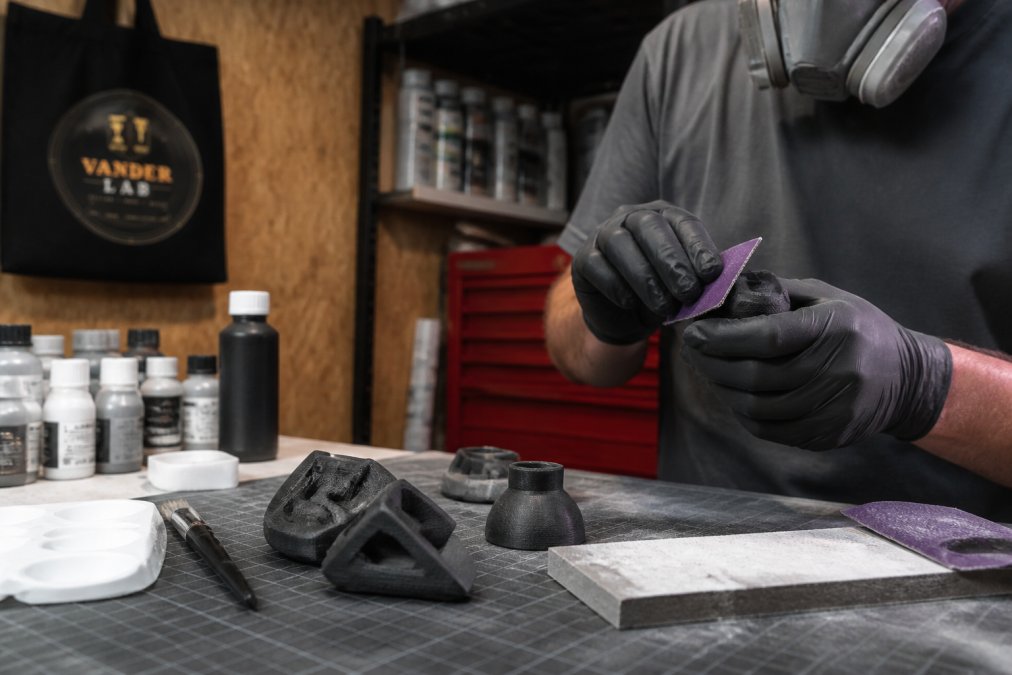
 how-to
Best Way to Finish Custom 3D Prints: A Step-by-Step Guide
Table of Contents
- Why Finishing Your 3D Prints Matters
- Best Tools for 3D Print Post-Processing
- Sanding 3D Prints Techniques
- Removing Support Structures Safely
- Chemical Smoothing for ABS and ASA Prints
- Priming and Painting Your Finished Prints
- Safety Precautions During Post-Processing
- DIY vs. Professional Finishing: What Makes Sense
- Frequently Asked Questions
Last Updated: September 25, 2026
Why Finishing Your 3D Prints Matters
The difference between a rough, layered print and a smooth, professional-looking part comes down to one thing: post-processing. When you finish custom 3D prints properly, you transform something that looks homemade into something that looks intentional. The layer lines disappear. The surface becomes smooth. The piece feels solid.
A printed part fresh from the printer is functional but not ready to display or install. The best way to finish custom 3D prints depends on your material, timeline, and desired polish level.
Finishing isn't an afterthought, it's the difference between a functional part and one that looks built with care. Below are the tools, techniques, and safety steps for professional results.
Best Tools for 3D Print Post-Processing
The right tool depends on your material. PLA, ABS, PETG, and resin each respond differently to finishing methods.
Material-Specific Finishing Guide
PLA Prints:
- Best primary method: Wet sanding (220-1200 grit progression)
- Secondary options: Filler primer and spray coating, epoxy resin
- Avoid: Acetone vapor smoothing (doesn't work on PLA; can cause brittleness)
- Why: PLA is rigid but softer than ABS. Wet sanding removes layer lines without chemical damage. Epoxy bonds well and adds durability to a material that can be brittle under stress.
ABS Prints:
- Best primary method: Acetone vapor smoothing (for highest gloss)
- Secondary options: Wet sanding, filler primer, epoxy resin
- Works well with: Chemical smoothing followed by light sanding
- Why: ABS responds to acetone fumes, creating an injection-molded appearance. If acetone smoothing isn't an option, wet sanding followed by epoxy gives professional results.
PETG Prints:
- Best primary method: Wet sanding (400-1200 grit)
- Secondary options: Filler primer, epoxy resin
- Avoid: Acetone vapor smoothing (minimal effect; can cause stress cracking)
- Why: PETG is tough but doesn't respond to acetone. Mechanical finishing (sanding) or coating methods work reliably.
Resin Prints:
- Best primary method: Wet sanding (400-2000 grit for high gloss)
- Secondary options: Epoxy resin coating (for extra durability), spray primer
- Avoid: Acetone smoothing (resin is already smooth; acetone can damage surface)
- Why: Resin prints start smoother than FDM prints. Focus on fine-grit sanding for polish rather than layer-line removal. Epoxy adds strength to brittle resin.
Tool Selection by Finishing Goal
For fastest results (under 2 hours per part): Filler primer in 2-3 coats. Works on all materials. Requires ventilation but no drying time between sanding steps.
For smoothest finish (4-8 hours per part): Wet sanding progression (220 → 400 → 800 → 1200 grit) followed by epoxy resin or filler primer. Best for display pieces and high-visibility parts.
For highest gloss on ABS only: Acetone vapor smoothing (15-20 minutes) followed by light 1000-grit sanding. Requires strict safety setup but produces injection-molded appearance.
For functional parts that don't need cosmetic finish: Skip to primer only, or use a single coat of filler primer. Saves 3-4 hours per part.
Wet Sanding Paper and Sanding Blocks
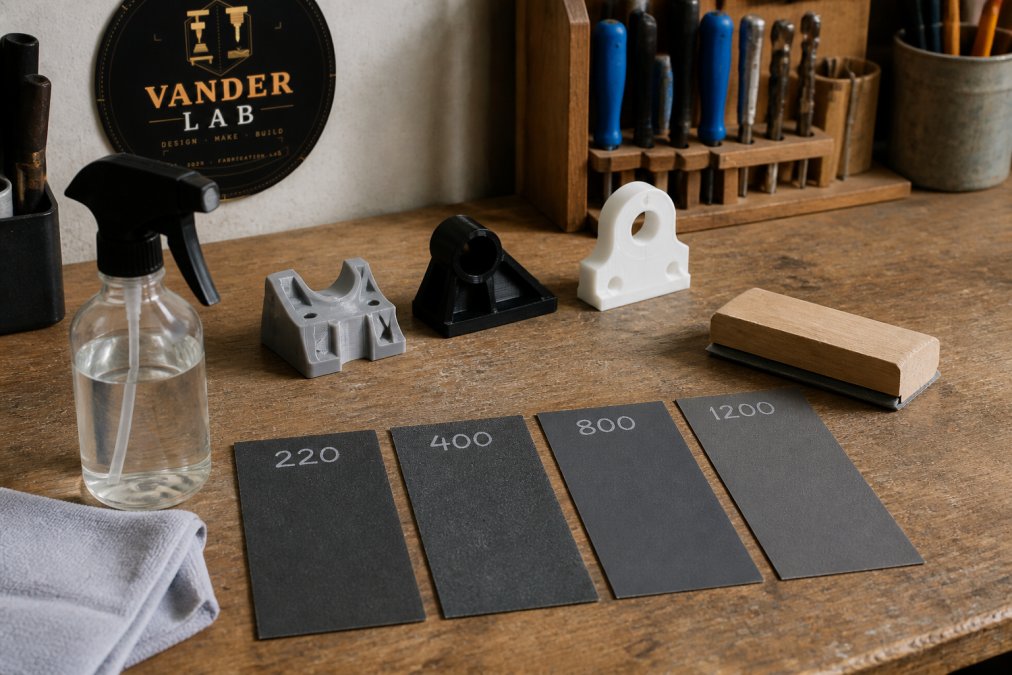
Wet sanding is the foundation of most finishing work. Water-resistant abrasive sheets wear down layer lines while water keeps dust down. Start with lower grits (220-400) for rough smoothing, then move to higher grits (1000-2000) for fine finishing. Each step prepares the surface for the next.
Wet sanding removes layer lines effectively, creates uniform surfaces ready for paint, and keeps dust down. The main drawback is time, rushing creates uneven surfaces. You must dry the part completely before the next step.
Filler Primers and Spray Coatings
Filler primer is a high-build spray coating that fills small gaps and layer lines in one pass. Automotive-grade primers work best on plastic and can make a rough print look smooth in one or two coats.
Use filler primer for complex geometry, faster results, or intricate details. The tradeoff is ventilation, spray primers need good airflow and can't be used in closed rooms. Heavy coats can hide fine details.
Epoxy Resin Coatings
Epoxy resin creates a smooth, durable finish by self-leveling as it cures, filling micro-scratches and creating a glass-like surface. It works on most materials, adds strength, and can be sanded or painted after curing.
Epoxy works best for display pieces, structural strength, and high-gloss finishes. The downside is cure time (24 hours) and the need for precise mixing. Cost is higher than other methods.
Sanding 3D Prints Techniques
Sanding is the foundation of most finishing work. How you sand determines whether you end up with a smooth surface or a scratched mess.
Dry Sanding vs. Wet Sanding
Dry sanding is faster but creates plastic dust. Wet sanding keeps dust down, prevents sandpaper clogging, and often produces better surface finishes.
Wet sanding produces better results for fine finishing, indoor work, and detailed surfaces. Start with wet sanding on higher grits (800+) for the smoothest finish.
Progressive Grit Progression
Each grit removes scratches from the previous one. Start at 220 grit, then progress to 400, 800, and 1200. Skipping steps leaves visible scratches in the final finish.
Grit progression: 220-400 (remove layer lines) → 600-800 (smooth scratches) → 1000-1200 (final polish). Don't skip grits; rushing creates problems that need fixing later.
Removing Support Structures Safely
Use a craft knife or small pliers to carefully remove supports. Work slowly, yanking can snap thin walls or damage details. Use a heat gun if supports are stuck.
Sand support marks smooth with 220-400 grit paper, fill gaps with plastic filler, and let cure completely.
Chemical Smoothing for ABS and ASA Prints
Acetone vapor smoothing works only on ABS and ASA plastics. Acetone fumes melt the outer layer slightly, filling layer lines and creating a glossy, injection-molded look in 10-20 minutes.
Priming and Painting Your Finished Prints
Once your print is smooth, filler primer fills remaining micro-scratches and helps paint stick evenly. Sand lightly with 400-600 grit after the primer dries, then apply topcoat paint.
Safety Precautions During Post-Processing
Essential safety gear: Dust mask or respirator (P100 for sanding, organic vapor for acetone), safety glasses, work gloves, and apron. Workspace setup: Sand outdoors or in well-ventilated areas. Never use acetone smoothing indoors. Keep a fire extinguisher nearby if using acetone or spray paints. Wear a proper respirator, dust from sanding plastic isn't harmless.
DIY vs. Professional Finishing: What Makes Sense
Finishing a 3D print yourself is learnable and affordable. But the time investment is real, and mistakes are costly. Understanding the trade-offs helps you decide whether to finish in-house or bring in help.
Time Investment: The Hidden Cost of DIY
A single small print (2-3 inches) typically requires:
- Support removal and cleanup: 15-30 minutes
- Wet sanding progression (220 → 1200 grit): 2-3 hours
- Primer application and drying: 30-45 minutes
- Paint or topcoat: 30-45 minutes
- Final inspection and touch-ups: 15-30 minutes
Total: 4-6 hours per part
Larger or more complex prints take longer. A 6-inch part with fine details can easily consume 8-10 hours. If you're producing multiple prints, this adds up quickly.
DIY Finishing Works Best For:
Prototypes and one-off projects You're learning the process, and finish quality is secondary to function. Time investment is acceptable because you're not repeating the work.
Professional Finishing Makes Sense When:
You're producing multiple prints (6+ parts) A professional shop has dust collection, ventilation, spray booths, and equipment optimized for speed. They finish a part in 2-3 hours what takes you 6. At volume, the per-part cost becomes competitive with DIY labor.
Cost-Benefit Breakdown
DIY Finishing:
- Tool investment (one-time): Sanding supplies, spray primer, safety gear = $30-75
- Per-part material cost: Sandpaper, primer, paint = $3-8
- Time per part: 4-8 hours
- Best for: 1-5 parts, learning, prototypes, flexible timeline
Professional Finishing:
- Per-part cost: Varies by complexity
- Time per part: 2-3 hours (you don't wait; they batch work)
- Turnaround: 3-7 business days depending on queue
- Best for: 6+ parts, high-visibility work, tight deadlines, complex geometry
Break-even analysis: If you're finishing 3 parts, DIY costs you roughly $10-25 in materials plus 12-24 hours of labor. Professional finishing offers a faster alternative but takes 0 hours of your time. If your time is valuable and you're working with multiple parts, professional finishing becomes worth considering.
Common DIY Mistakes That Cost Time
Skipping grit progression Jumping from 220 to 1000 grit leaves scratches. You spend extra time sanding out mistakes. Following the progression (220 → 400 → 800 → 1200) takes longer upfront but prevents rework.
When to Reach Out for Help
For projects where precision finishing is critical, custom signage, display pieces, or functional parts where surface quality affects performance, professional finishing paired with custom fabrication ensures results that match your vision. If you're working with expensive materials, tight deadlines, or need consistency across multiple parts, it's worth exploring what a professional shop can offer.
Frequently Asked Questions
What is the best way to finish a 3D print for a smooth surface?
Start with wet sanding using progressively finer grits (220 to 2000) to remove layer lines, then apply a filler primer to fill remaining gaps. For a glass-like finish, consider an epoxy resin coating, which self-levels and requires minimal sanding. The method depends on your material and desired final appearance, but wet sanding followed by primer gives the most reliable results for most prints.
What are the best tools for sanding 3D prints?
Wet sanding paper in assorted grits is the most effective and inexpensive option, starting at 220 grit and progressing to 2000 grit. A sanding block keeps pressure even and prevents gouging. For faster results on complex prints, filler primer reduces manual sanding time significantly. Epoxy coatings eliminate the need for extensive sanding but require careful mixing and longer curing time.
Can I use regular sandpaper on 3D printed parts?
Wet sanding paper is better than dry sandpaper because water minimizes heat buildup and reduces airborne plastic dust. Dry sanding can melt thermoplastics like PLA and PETG, creating a gummy surface that clogs the sandpaper. If you use dry sandpaper, work quickly in short strokes and allow the part to cool between sessions. Wet sanding is gentler and produces cleaner results.
How do you safely remove support structures from custom prints?
Use needle-nose pliers or flush cutters to break supports at their base, then sand the remaining stub smooth with 220-grit wet sanding paper. For delicate prints, work slowly to avoid cracking thin walls. After removal, fill any gaps left behind with putty or gap filler before priming. Always wear safety glasses and work in a well-lit area to avoid damaging the finished print.