 how-to
3D Print Failed? What to Do Next (2026 Guide)
Table of Contents
- Step 1: Stop, Assess, and Record What Happened
- Step 2: 3D Printer Bed Adhesion Tips for a Print That Sticks
- Step 3: A 3D Printer Calibration Guide for Failed Prints
- Step 4: 3D Printer Nozzle Clog Symptoms and How to Clear Them
- Step 5: Post-Processing Failed 3D Prints Without Starting Over
- Step 6: Fixing Layer Lines, Gaps, and Weak Layer Adhesion
- Step 7: Safety Gear and Ventilation for Sanding and Chemical Smoothing
- DIY Finishing vs. Professional Help: What Makes Sense
- Frequently Asked Questions
Last Updated: September 26, 2026
Step 1: Stop, Assess, and Record What Happened
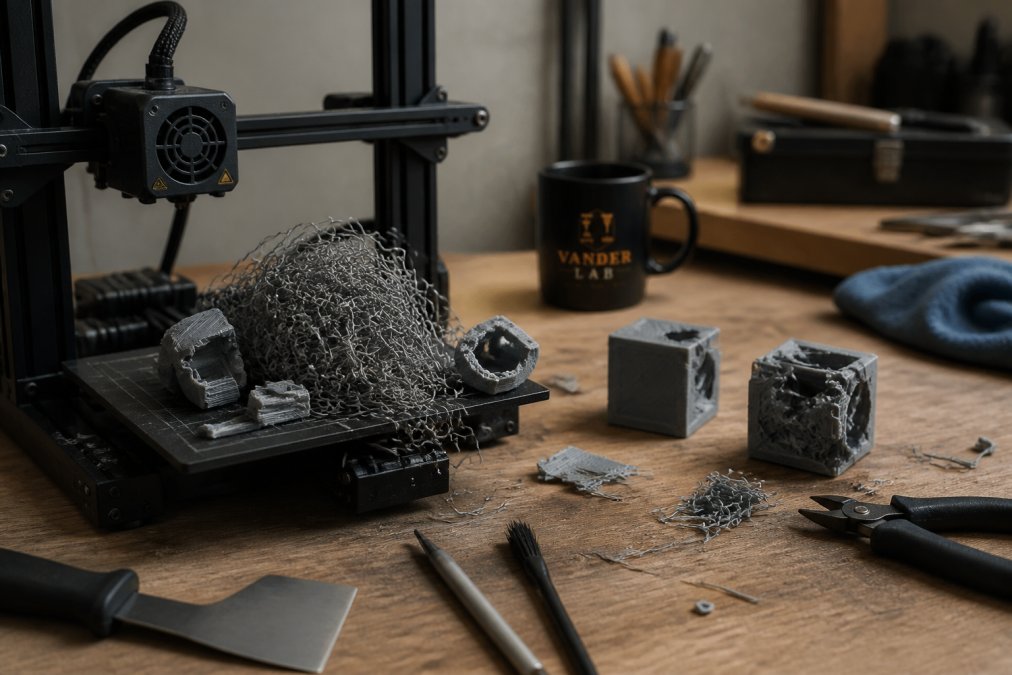
A failed print is not a loss. It is data.
When a 3d print failed, stop the machine, note the exact layer where it went wrong, and photograph the mess before you touch it. That photo tells you more than any guess.
Here is what to record:
- Which layer the failure started at
- Whether the print lifted, shifted, or clogged
- Filament type, nozzle temp, and bed temp
- Print orientation and support settings
Most makers skip this step. Then they reprint and fail again.
At VanderLab, we run 3D printing, CNC routing, and CAD design out of our Mebane shop, and the habit that saves us the most time is simple: write it down. A failed 3D print almost always leaves a clue.
Step 2: 3D Printer Bed Adhesion Tips for a Print That Sticks
Most first-layer problems come down to two things: a dirty plate and wrong first-layer settings.
Cleaning and Preparing the Build Plate
Wipe the plate with isopropyl alcohol before every print. Oils from your fingers stop filament from sticking.
For textured PEI, warm water and dish soap work better than alcohol alone.
First Layer Settings That Prevent Lifting
- Set first-layer speed slow, around 20-25 mm/s
- Bump first-layer nozzle temp 5°C above normal
- Raise bed temp slightly for the first layer only
- Use a brim for tall, narrow parts
These 3D printer bed adhesion tips fix the majority of lifting and warping cases.
Step 3: A 3D Printer Calibration Guide for Failed Prints
A failed 3D print often traces back to a machine that drifted out of tune. Calibration is not a one-time job.
Checking E-Steps, Flow, and Temperature
Mark 120 mm on your filament, extrude 100 mm, and measure what is left. If the number is off, adjust E-steps in your firmware.
When to Recalibrate After a 3D Print Failed
Recalibrate if you see:
- Gaps between walls or top layers
- Over-extrusion blobs on corners
- Inconsistent extrusion across the print
This 3D printer calibration guide matters most after you change filament brands or swap a nozzle.
Step 4: 3D Printer Nozzle Clog Symptoms and How to Clear Them
A clog shows up as thin, skipping, or missing extrusion. The extruder may click or grind.
Common 3D printer nozzle clog symptoms:
- Filament curling as it leaves the nozzle
- Under-extruded layers with gaps
- Nozzle dragging through already-printed plastic
Step 5: Post-Processing Failed 3D Prints Without Starting Over
A failed print is not always scrap. Many failures can be saved with post-processing, and the method you choose depends heavily on what the part is made of.
Match the Finish to the Material
| Material | Best Finishing Path | Avoid |
|---|---|---|
| PLA | Sanding, filler primer, acrylic paint | Acetone vapor (barely reacts) |
| ABS | Acetone vapor smoothing, then light sand | Aggressive heat near thin walls |
| PETG | Sanding, epoxy coating | Acetone (clouds, does not smooth) |
| ASA | Acetone vapor, UV-stable topcoat | Long solvent soaks |
| Resin (SLA/DLP) | Wet sanding, primer, airbrush | Dry sanding (dust hazard) |
| Nylon | Dyeing, epoxy, light sand | Solvent smoothing (poor results) |
Sanding Progression That Actually Works
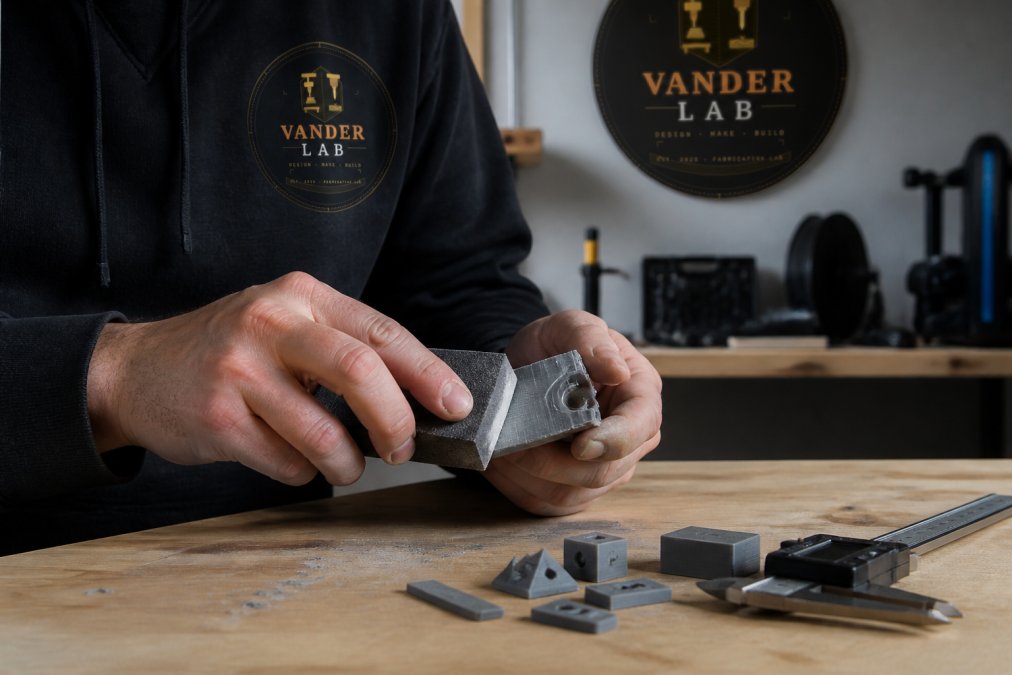
Work in stages, and do not skip grits, jumping from 220 straight to 800 leaves scratches that primer will not hide.
- Remove support nubs with flush cutters first
- Start at 220 for heavy layer lines
- Move to 400 for general smoothing
- Finish at 800 for paint-ready surfaces
- Wet-sand resin and PETG to control dust and heat
Filling Gaps and Layer Lines
For small gaps, a spot putty or two-part epoxy fills cleanly. For broader layer-line coverage, a filler primer does more work than sanding alone. Apply two or three light coats, sand between coats, and let each coat cure fully, rushing this is the most common reason paint bubbles later.
Chemical Smoothing, Briefly
Acetone vapor smoothing works well on ABS and ASA. It does not meaningfully smooth PLA or PETG. If you go this route, work in a sealed enclosure with ventilation and never near an open flame.
Saving a Partial Failure
If the print failed above a clean layer, you can often cut the bad section off, sand the cut flat, and refinish the remaining part. A part that failed at layer 200 can still become a finished piece, it just needs a plan.
Step 6: Fixing Layer Lines, Gaps, and Weak Layer Adhesion
Weak layer adhesion is the quiet killer. The print looks fine, then snaps along a layer line.
| Problem | Likely Cause | Fix |
|---|---|---|
| Lifting corners | Dirty bed, cool bed | Clean plate, raise bed temp |
| Gaps in walls | Under-extrusion | Check E-steps and flow |
| Weak layer bond | Low temp, fast cooling | Raise temp, slow fan |
| Clogs | Low temp, debris | Cold pull or swap nozzle |
| Rough surface | Layer lines | Sand and prime |
Step 7: Safety Gear and Ventilation for Sanding and Chemical Smoothing
Sanding plastic releases fine dust. Chemical smoothing with acetone or similar solvents releases fumes. Both need respect.
Two Hazards, Two Responses
- Sanding dust: fine particulates that lodge in the lungs. An N95 or P100 respirator handles this. A dust mask is not enough for extended sanding.
- Solvent vapor: organic vapors from acetone, MEK, or epoxy. You need a respirator rated for organic vapors, not a particulate filter.
If you are doing both in one session, use a combination cartridge. Swap cartridges on schedule, a saturated cartridge stops protecting without warning.
Ventilation That Actually Moves Air
An open window is not ventilation. Air needs to move across your work and out of the space.
- Sand near a downdraft table or a fan pulling air away from you
- For acetone vapor smoothing, work outdoors or in a dedicated enclosure with active exhaust
- Never vapor-smooth in a closed garage or basement
Low-VOC and Lower-Risk Alternatives
These will not match a vapor-smoothed surface exactly, but for many cosmetic parts they are close enough, and far easier to do safely at home.
Storage and Fire Safety
Acetone and similar solvents are flammable. Keep them in sealed, labeled containers away from heat, pilot lights, and anything that sparks. A small fire extinguisher rated for flammable liquids belongs within reach of the workbench.
When to Step Outside the Shop
If a part is large, the finish needs to be production-grade, or you simply do not want to manage solvent fumes at home, that is a reasonable point to hand the job off. At VanderLab, we handle finishing alongside 3D printing, CNC routing, and CAD design for makers and small businesses around Mebane.
DIY Finishing vs. Professional Help: What Makes Sense
Some jobs are worth doing yourself. Others are not.
DIY makes sense when the part is simple, the finish does not need to be perfect, and you have the time. Professional help makes sense when the part is structural, the tolerance is tight, or the surface needs to look production-ready.
A quick way to decide:
- DIY: small cosmetic fixes, single parts, learning projects
- Professional: load-bearing parts, batch runs, tight-tolerance fits
Frequently Asked Questions
What should I check first when a 3D print fails?
Check the first layer before anything else. If the first layer lifted, dragged, or looked thin in spots, the problem is bed adhesion or Z-offset, not the model. If the first layer was clean and the failure happened higher up, look at nozzle clog symptoms, temperature swings, or filament tangles. Write down what you saw and at what height, because that note turns a guessing game into a fix you can repeat.
How do I know if my 3D print failed because of temperature issues?
Temperature failures leave specific marks. Layers that look glossy and droopy usually mean the nozzle ran too hot. Layers that look dull, brittle, or separated point to running too cool or a cooling fan hitting the part too hard. On the bed side, corners that curl upward suggest the bed temperature is too low for the material. Check your printer's readout against the filament manufacturer's recommended range before changing anything else.
When should I consider recalibrating my 3D printer?
Recalibrate after any hardware change, including a new nozzle, a belt adjustment, or moving the printer to a new surface. Also recalibrate when the same failure repeats across different models and filaments, or when a print that used to succeed suddenly stops sticking. A quick calibration pass on e-steps, flow, and first-layer height costs a few minutes and rules out the most common causes before you touch your slicer settings.
Can a failed 3D print still be saved with post-processing?
Sometimes, yes. A print that stopped partway can often be rescued by measuring the exact stop height, slicing the remaining top section, and bonding the two pieces with epoxy. Surface defects like layer lines, small gaps, and blobs respond well to sanding through a grit progression, a primer filler, and paint. If the failure involves warping across a large flat face or split layer adhesion through the whole part, restarting is usually faster and stronger.
A failed 3D print is a puzzle, not a dead end. Diagnose it, fix the root cause, and finish what you can. When a part needs to be stronger, tighter, or simply better made, VanderLab can help. We offer custom CNC machining, 3D printing, and CAD design, plus local pickup and shipping. Get started with VanderLab and turn your next failed print into a finished piece built to last.